Step 3 – The Uke Stand
The next step in inlaying the Ukulele fingerboard would normally be to trace the pearl on the fretboard and route the cavities, but in this case I wanted to do something else, first.
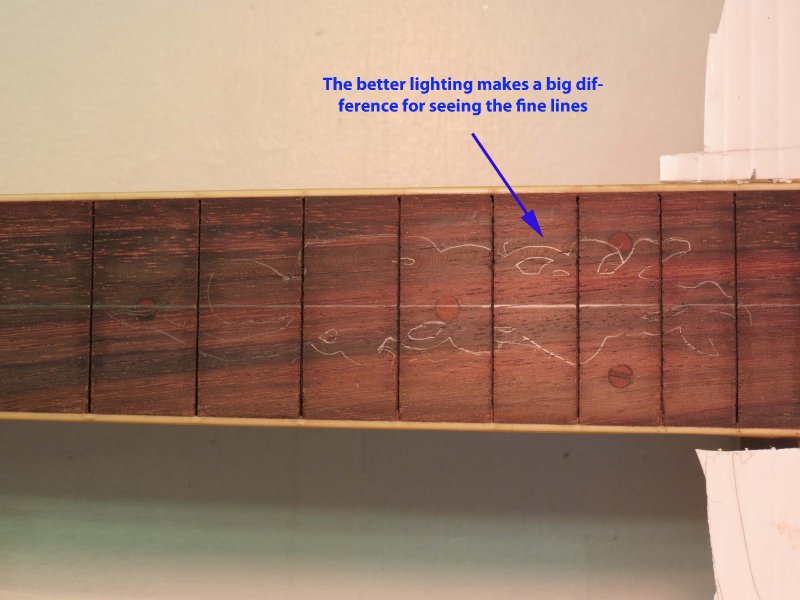
At the best of times, routing cavities is a challenge for me. The main problem is in seeing the line that’s been traced around the piece of pearl, as it’s done with a .3 mm pencil, therefore very thin and very faint. Usually the best way to see it is to have it reflect a fairly strong light at just the right angle. That’s easy to say, but not so easy to do, especially when the fretboard is already mounted to the neck, which is mounted to the guitar, or in this case, the ukulele.
If the instrument is in the process of being built, the fretboard is a separate piece of wood and can be positioned on a little stand, at just the right height, and then illuminated fairly well. But in this case the uke was already built and I had no intention of trying to remove it from the bound neck.
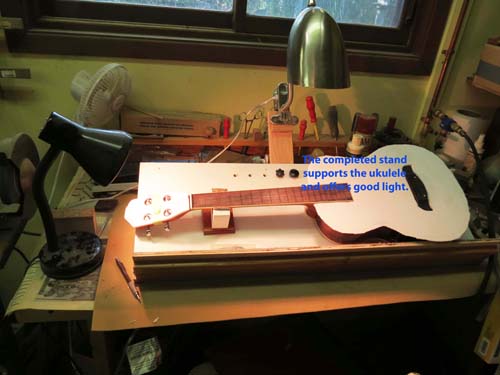
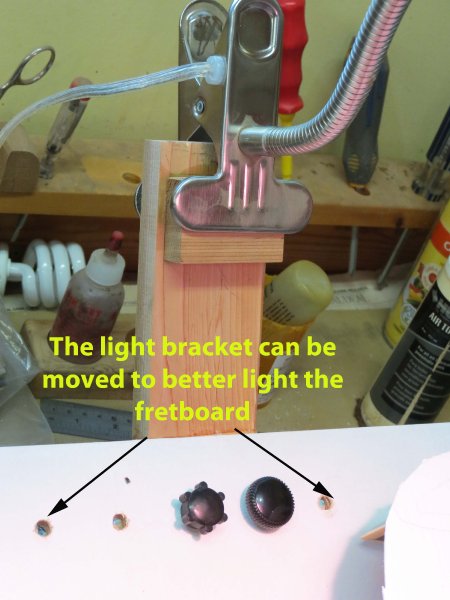
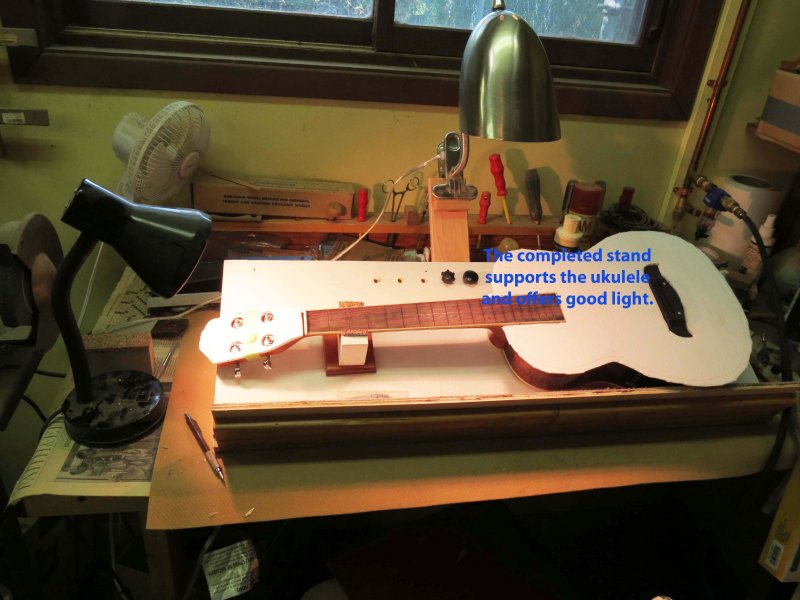
So building a stand that would support the ukelele at a good angle, with extra lighting in a flexible location, seemed like a worthwhile thing to do. Here’s the finished stand:
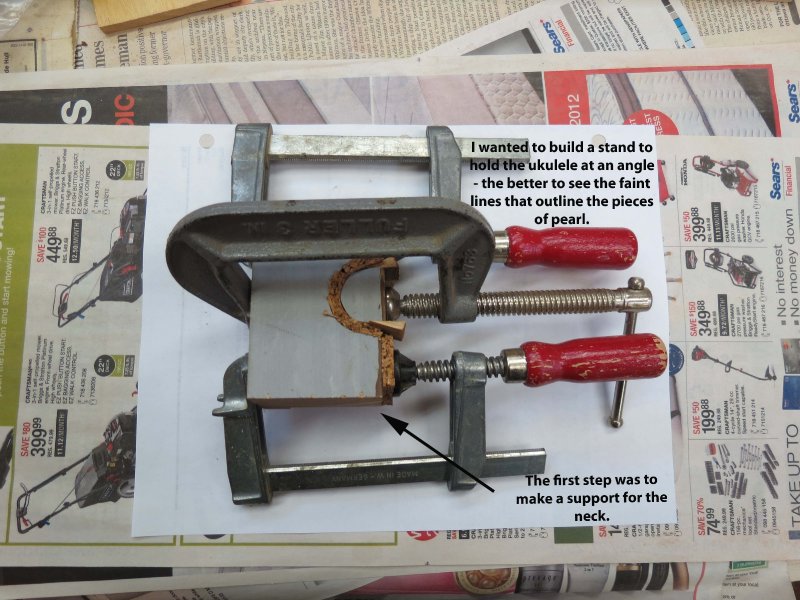
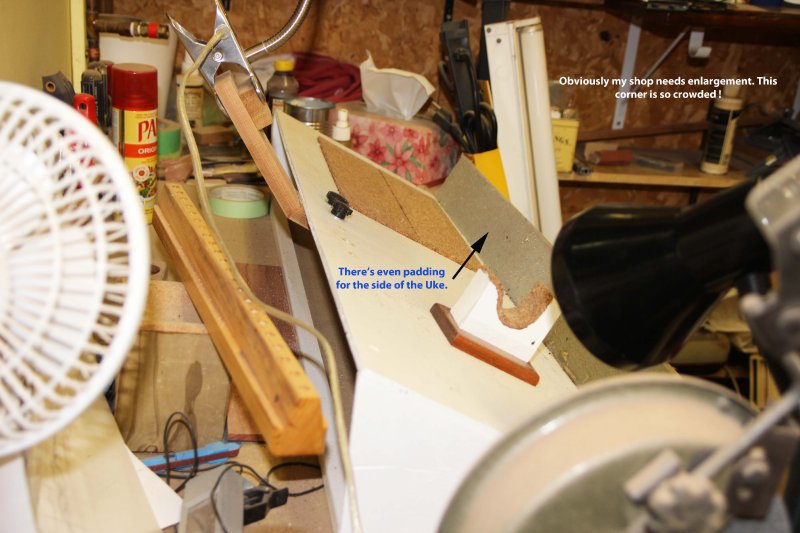
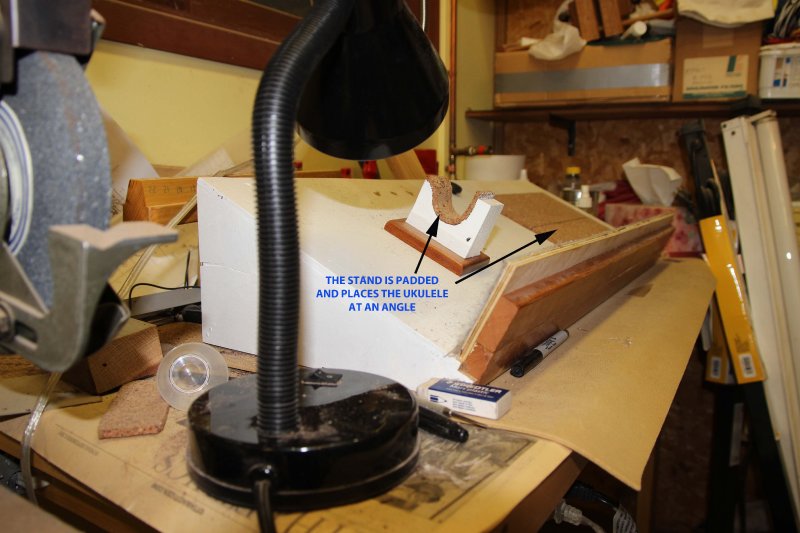
Here are some more features of the stand in a slideshow. Click on any picture to see it, and click on the arrows at the bottom right or left to advance or go back. Clicking on the photo itself will exit you out of the slideshow:
