Step 2 – The Plan and the Pearl
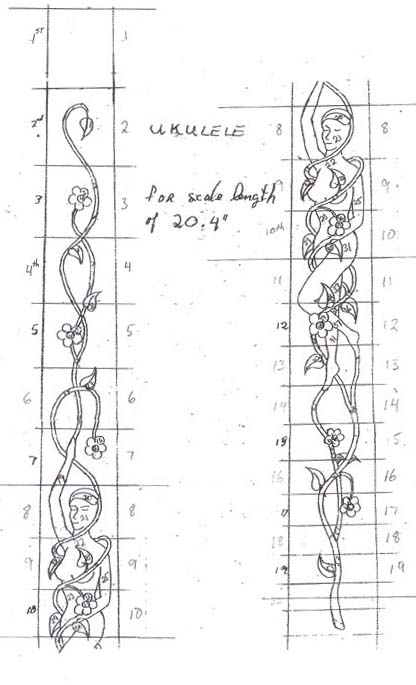
The second step of the project was to get the ukulele into my own hands, then confirm that the plan I was using would fit the overall fretboard. It did, and all the flower petals fit into the appropriate frets. The idea is to get the paper pattern right, then make several copies and cut out all the individual pieces that will be cut from shell. I used three types of shell for this project – gold pearl for the vine, white pearl for the ukulele lady and flower blossoms, and green abalone for the vine petals.
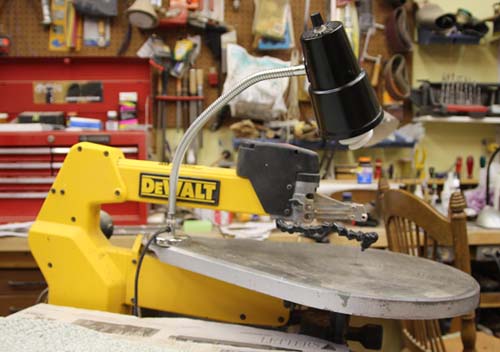
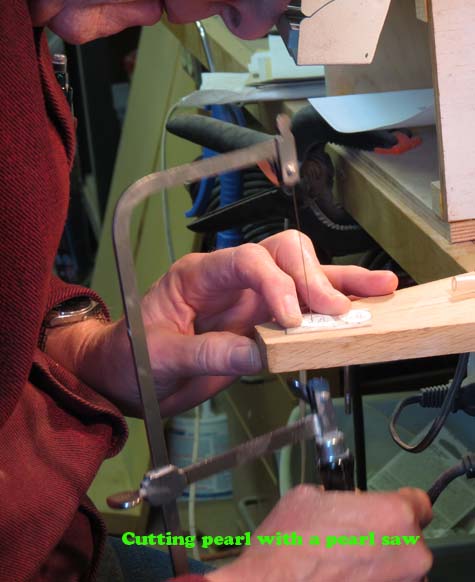
The paper pieces are glued to the pearl blanks, then a special pearl cutting saw is used to cut the individual pieces from the pearl or abalone. The cutting is done by hand. I have a Delta scroll saw, and originally thought that I could cut pearl with that, but it doesn’t work. The blanks are too small and my fingers are too big. The scroll-saw blade catches on the pearl, ruining delicate pieces. On top of that, the scroll-saw blades are not as fine as a pearl cutting blade. All in all, the best method is to cut by hand – or you could invest a LOT of money in a laser cutter I guess.
Here’s the right way – Using a pearl saw:
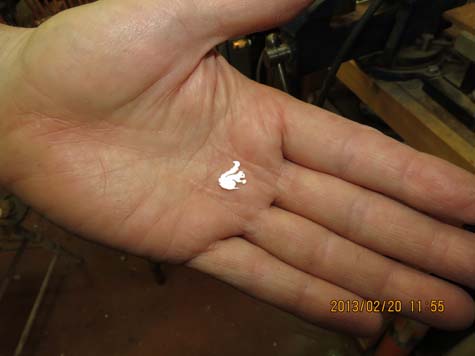
(Here’s the cute squirrel I was cutting – tiny isn’t it…)

The plan that I used had some problem areas where I had to cut very carefully. When several pieces have to mate together you have to place the pieces, try them, then file them, try them again, file some more, fiddle with them, try again, file a little more – very tedious, but you get the picture.
As I cut the pieces, I generally place them on a paper pattern that I make up, that’s the exact size of the fretboard to be inlaid. This allows me to keep track of where the pieces go. I also number the pieces on the paper pattern, then after the piece is cut from the pearl blank, I know where each piece should fit. When the paper is removed from the pearl, I’ll often use a fine “Sharpie” to identify the actual piece. Sometimes I just commit the shape and location of the piece to memory. Whatever works.
Because this pattern is comprised of many pieces that make up the ukulele lady, I glued her together with crazy glue, then traced her outline on a practice piece of wood. Then I routed the cavity to the depth of the pearl, and fitted the piece into the cavity. Unfortunately repeated handling is disastrous – glued pieces become unstuck, never to go back together quite the way they did the first time. It’s some fun.
In the end I was glad that it fit at all….
Click on the slideshow below to see the individual pictures. you can also click on the arrows at the bottom left and right of the picture to advance or go back. Clicking on the pictures themselves escapes you from the slideshow:


