Step 1 – The genisis of the ukulele project
Sometime in 2012 I got it into my mind that I wanted to buy, and then inlay, a Ukulele. At the same time I thought I would take pictures during the project and share them in a series of blogs on this website. I took lots of pictures, but still wish I had put a more thought into the subject of each picture – it’s a learning experience.
Anyways, a little bit of research turned up four sizes of Uke’s – the Soprano, Concert, Tenor and Baritone ukuleles. The first three use a tuning of “My Dog Has Fleas” basically “G”(high G) “C” “E” “A”, and the fourth, the Baritone Ukulele is tuned the same as the top four strings of a guitar. “That’s for me” I said and did more research on an appropriate brand and model. My thought was that I could transfer my guitar playing skills (such as they are) to the ukulele and avoid having to learn a whole new set of chords.
Research showed that the instrument that suited my desires, was the Oscar Schmidt Baritone Ukulele. It was already electrified, so I wouldn’t have to add a pickup. It had a cut-away, that was an attraction. It was pretty, and had abalone purfling. That sold me, so that’s the one I tried to buy. It wasn’t as easy as you think. It took quite a while to find a dealer that had one in stock, at a competitive price, but finally, I got one ordered and started looking for a pattern to inlay.
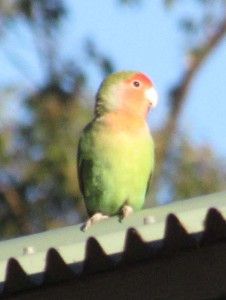
I also wanted to practice my inlaying skills on the new instrument. First, I need a theme for the inlay. I googled “birds of Hawaii” and found a few images that I liked. One in particular caught my fancy – it’s pictured below:
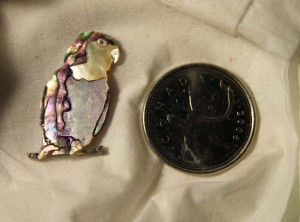
After some photoshopping and the cutting of 14 pieces of pearl and abalone, the finished product looked like this:
The pearl and abalone version is very delicate – one twig in particular falls off easily.
However – I never used this piece on the ukulele, because it would not fit easily on the headstock and I didn’t want to destroy the Oscar Schmidt logo. So it remains as a piece to use on a future project. I have a few other pieces like that :-). The bird theme was nice, but other patterns and ideas were also floating around in my head.
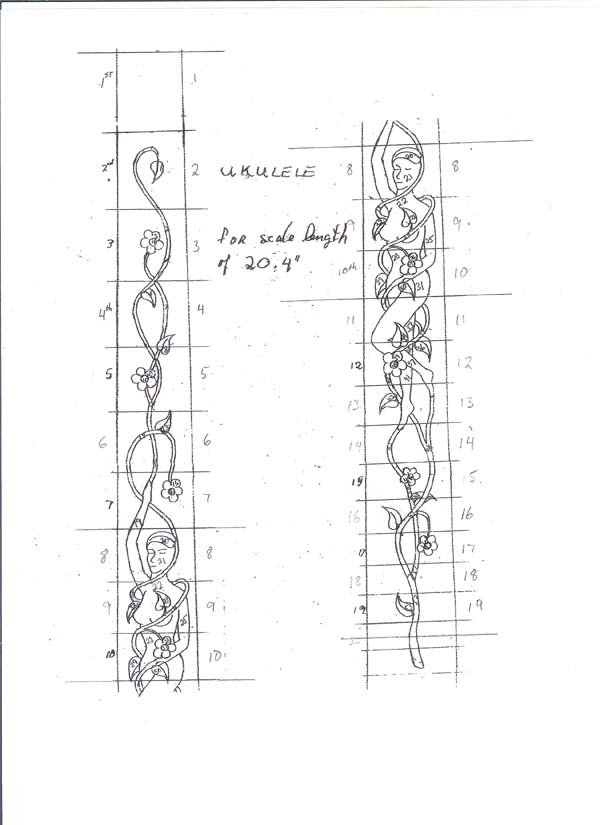
What I did eventually use was a pattern for a banjo that a friend allowed me to copy. After much consternation and head scratching, I finally reduced the pattern from a 26.5″ scale length to the ukulele’s 20.4″ scale length. Lo and behold the flower petals even lined up in the correct frets. Awesome ! I like to call her “The Ukulele Lady”:
This pattern is really quite nice but to be honest I did find it difficult. There are some 50 pieces, and the lady herself is comprised of a good percentage of those pieces. It was harder than I thought to fit all the intricate pieces into one image, and I suspect that a second or third try would produce tighter results. As it is, I’m still proud of it, but I’m humbled by the people that do better work without any fanfare, while makeing it look effortless.
The next step was to cut the pearl and practice routing the cavities on a blank piece of wood. See step two in this series of blogs.


