More on building a guitar – Tuesday
Tuesday April 05, 2011 – A fabulous breakfast at the Park Street In in Malone, New York. Fruit dish, coffee with Sweet & Low & milk, Bacon, Egg, Fried potatoes, toast, jam. Wow !
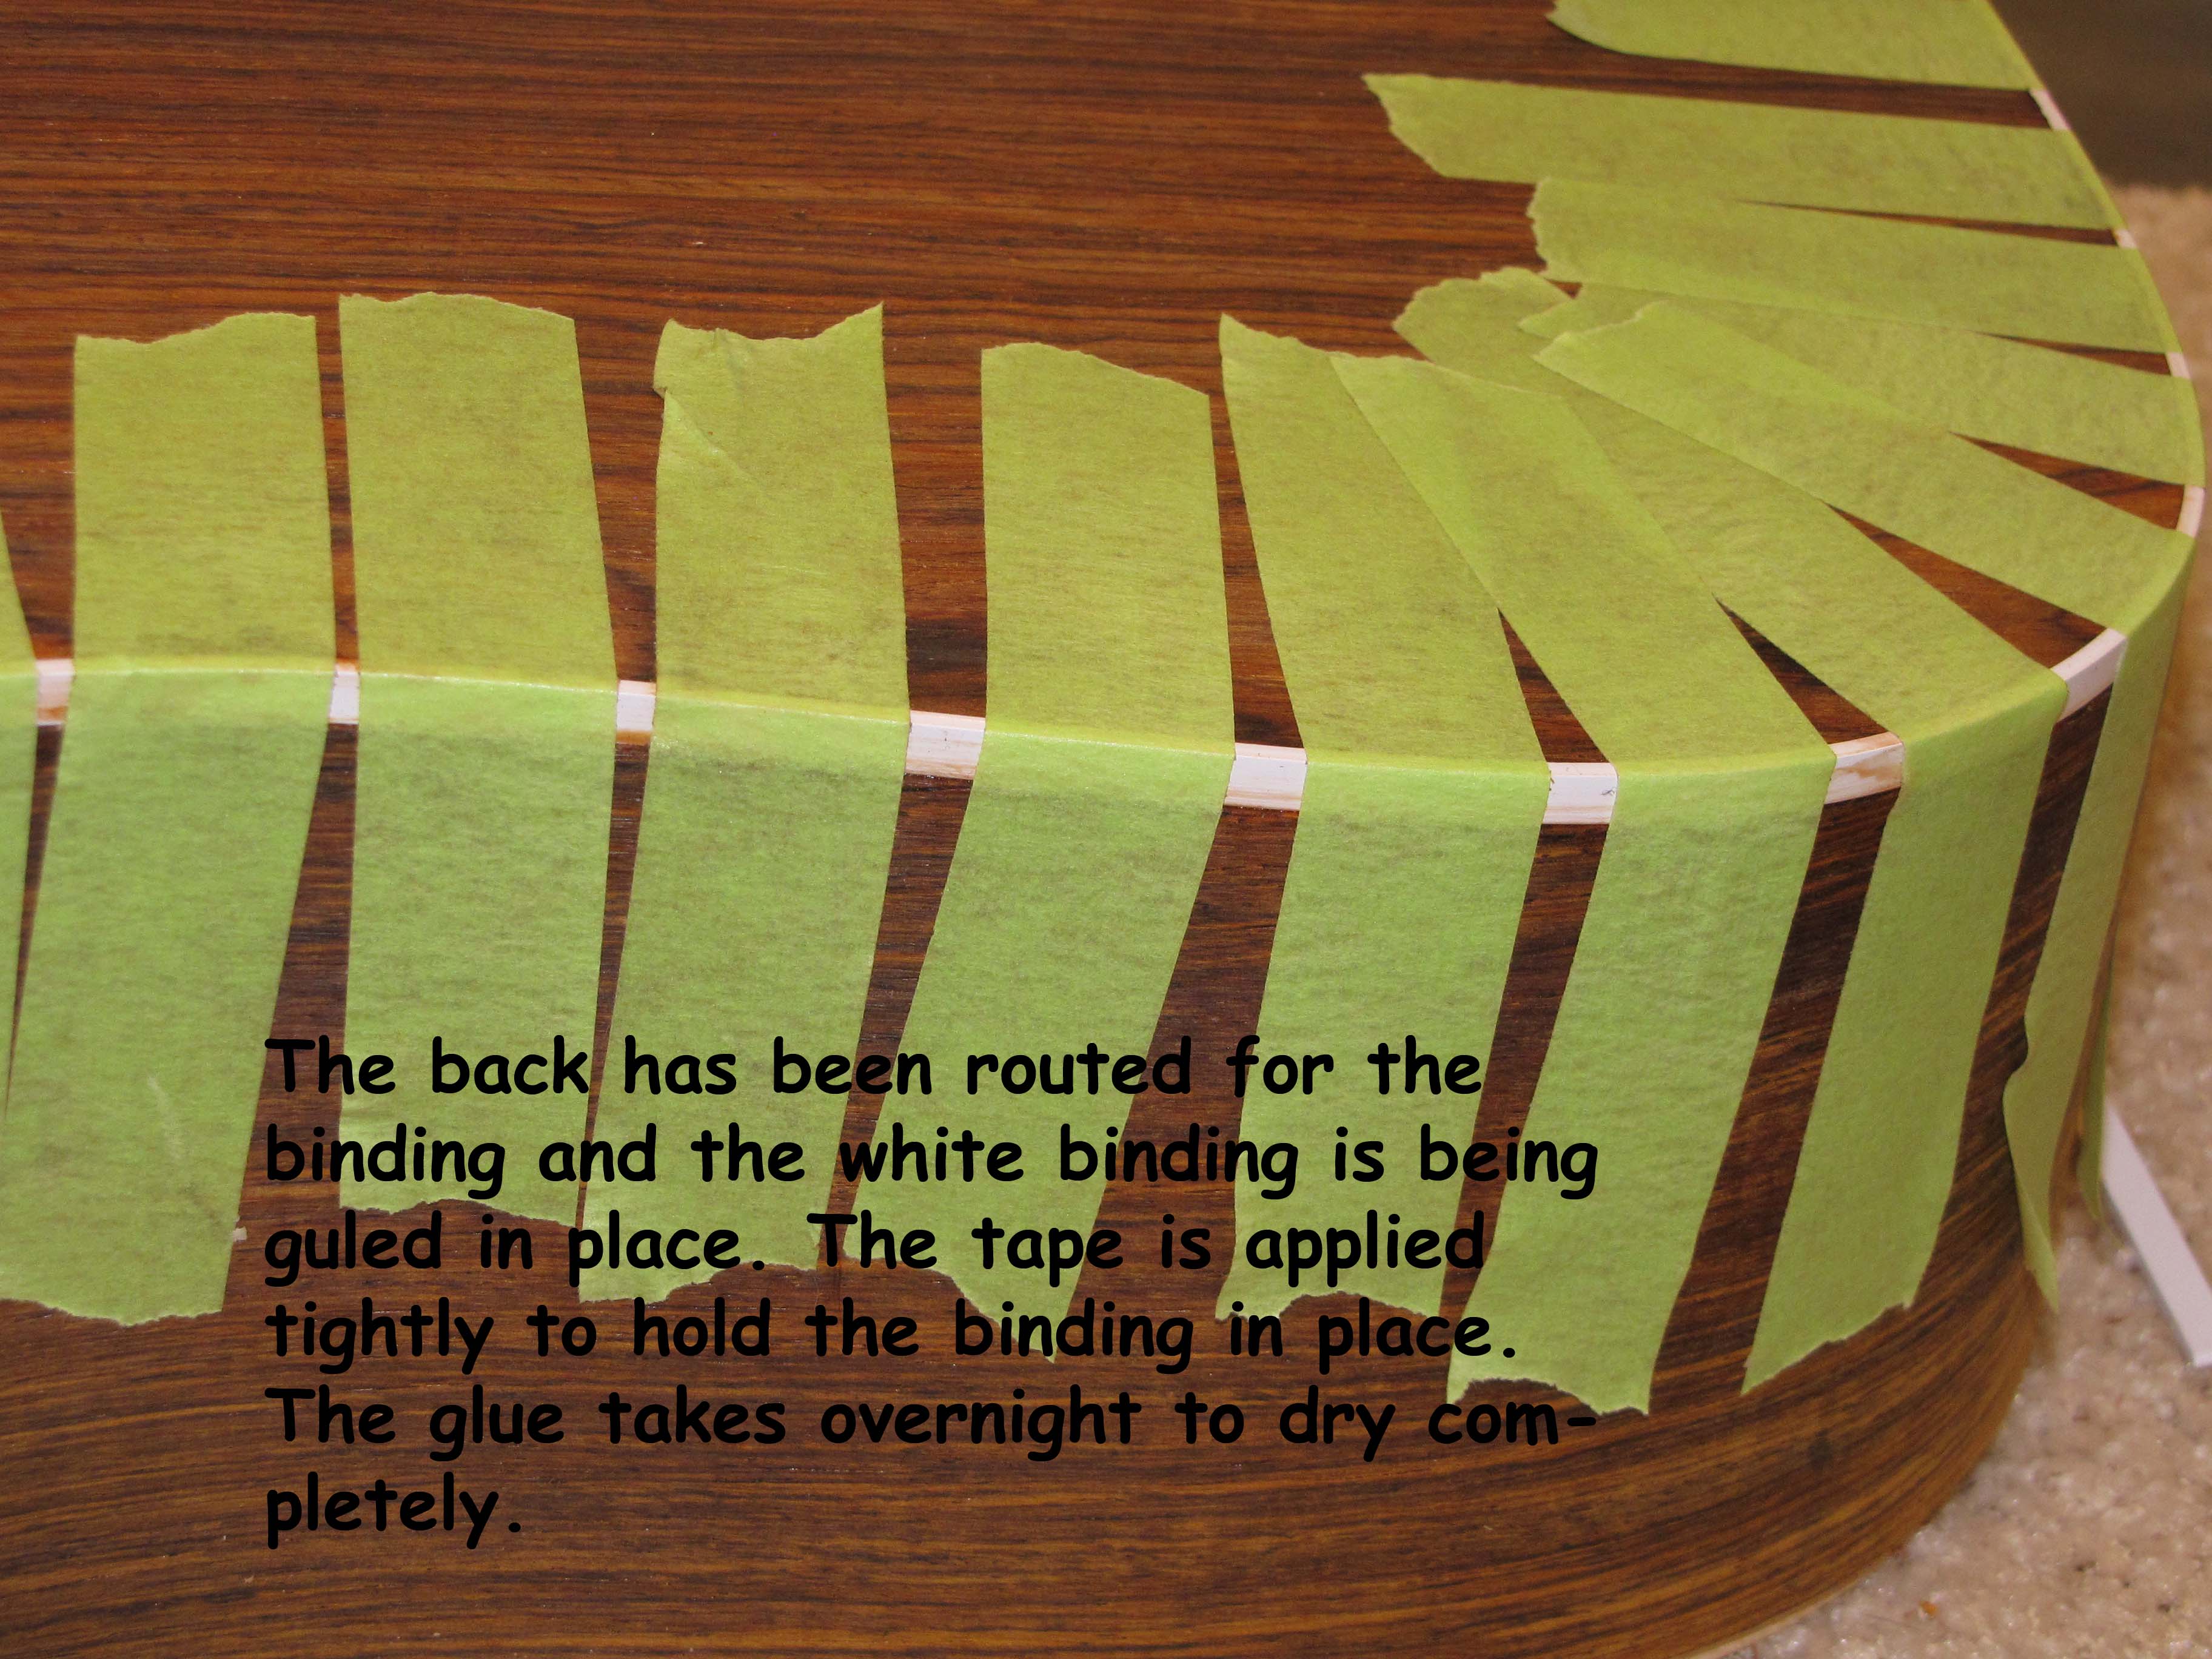
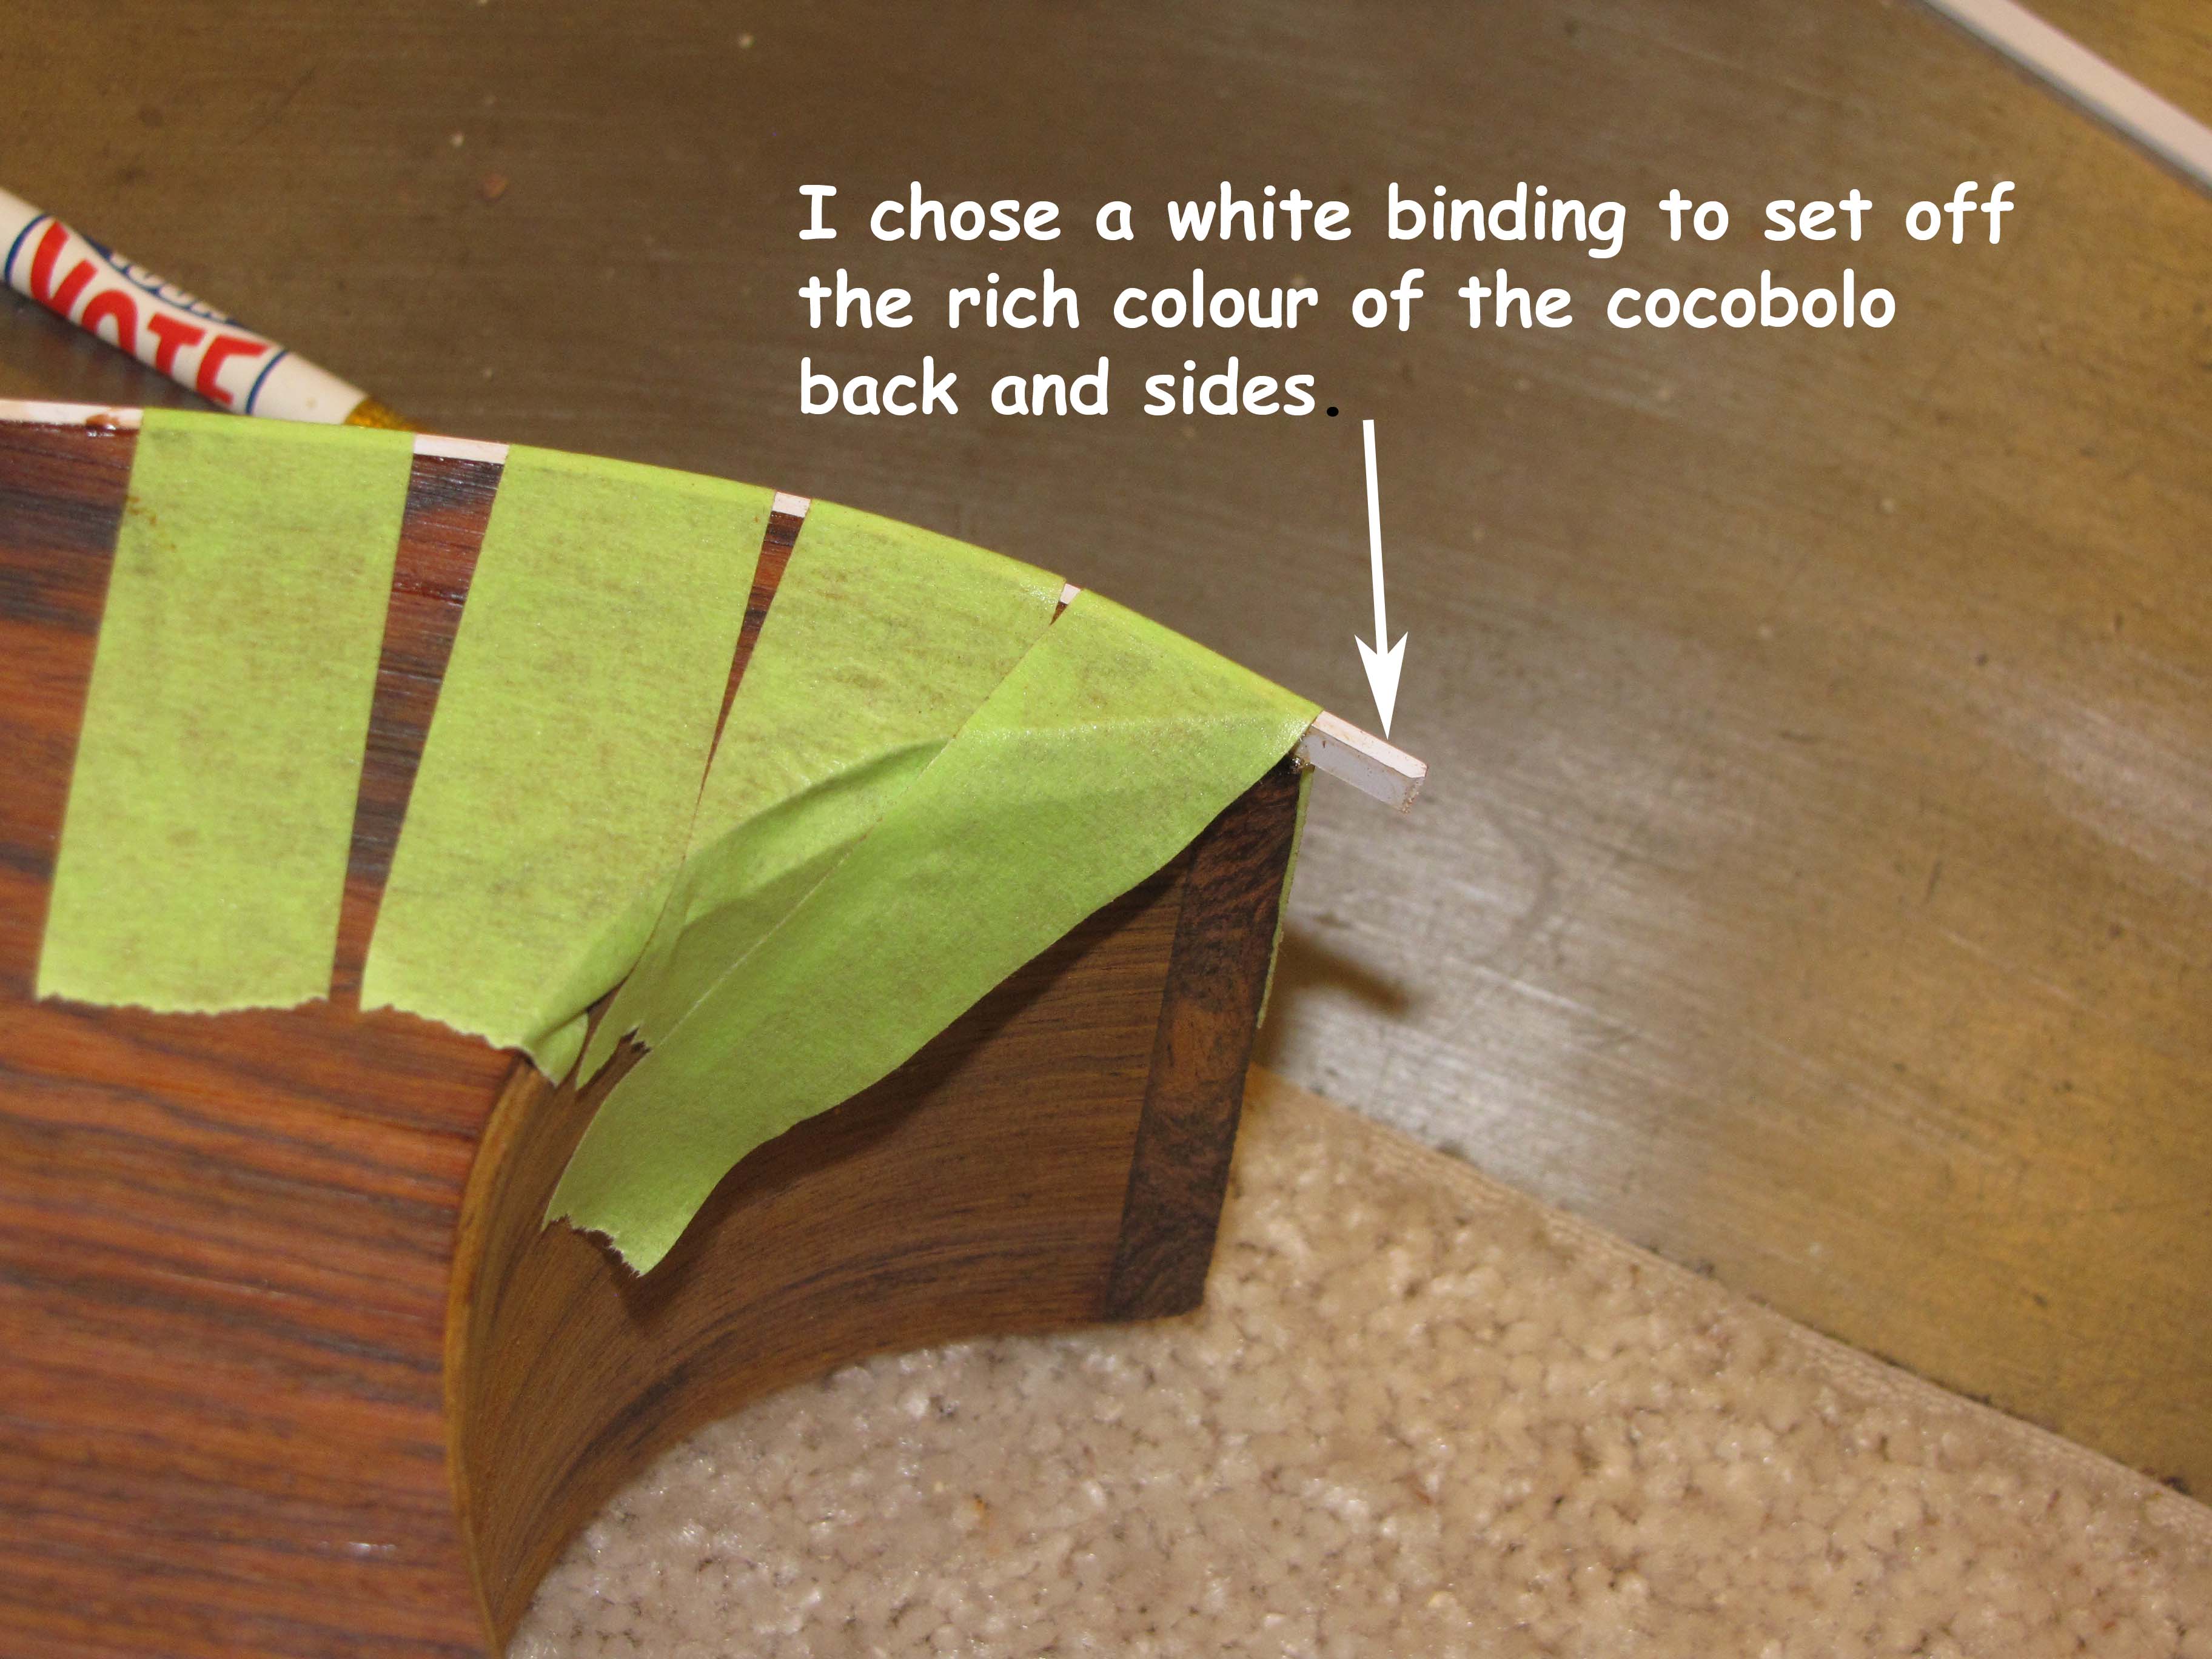
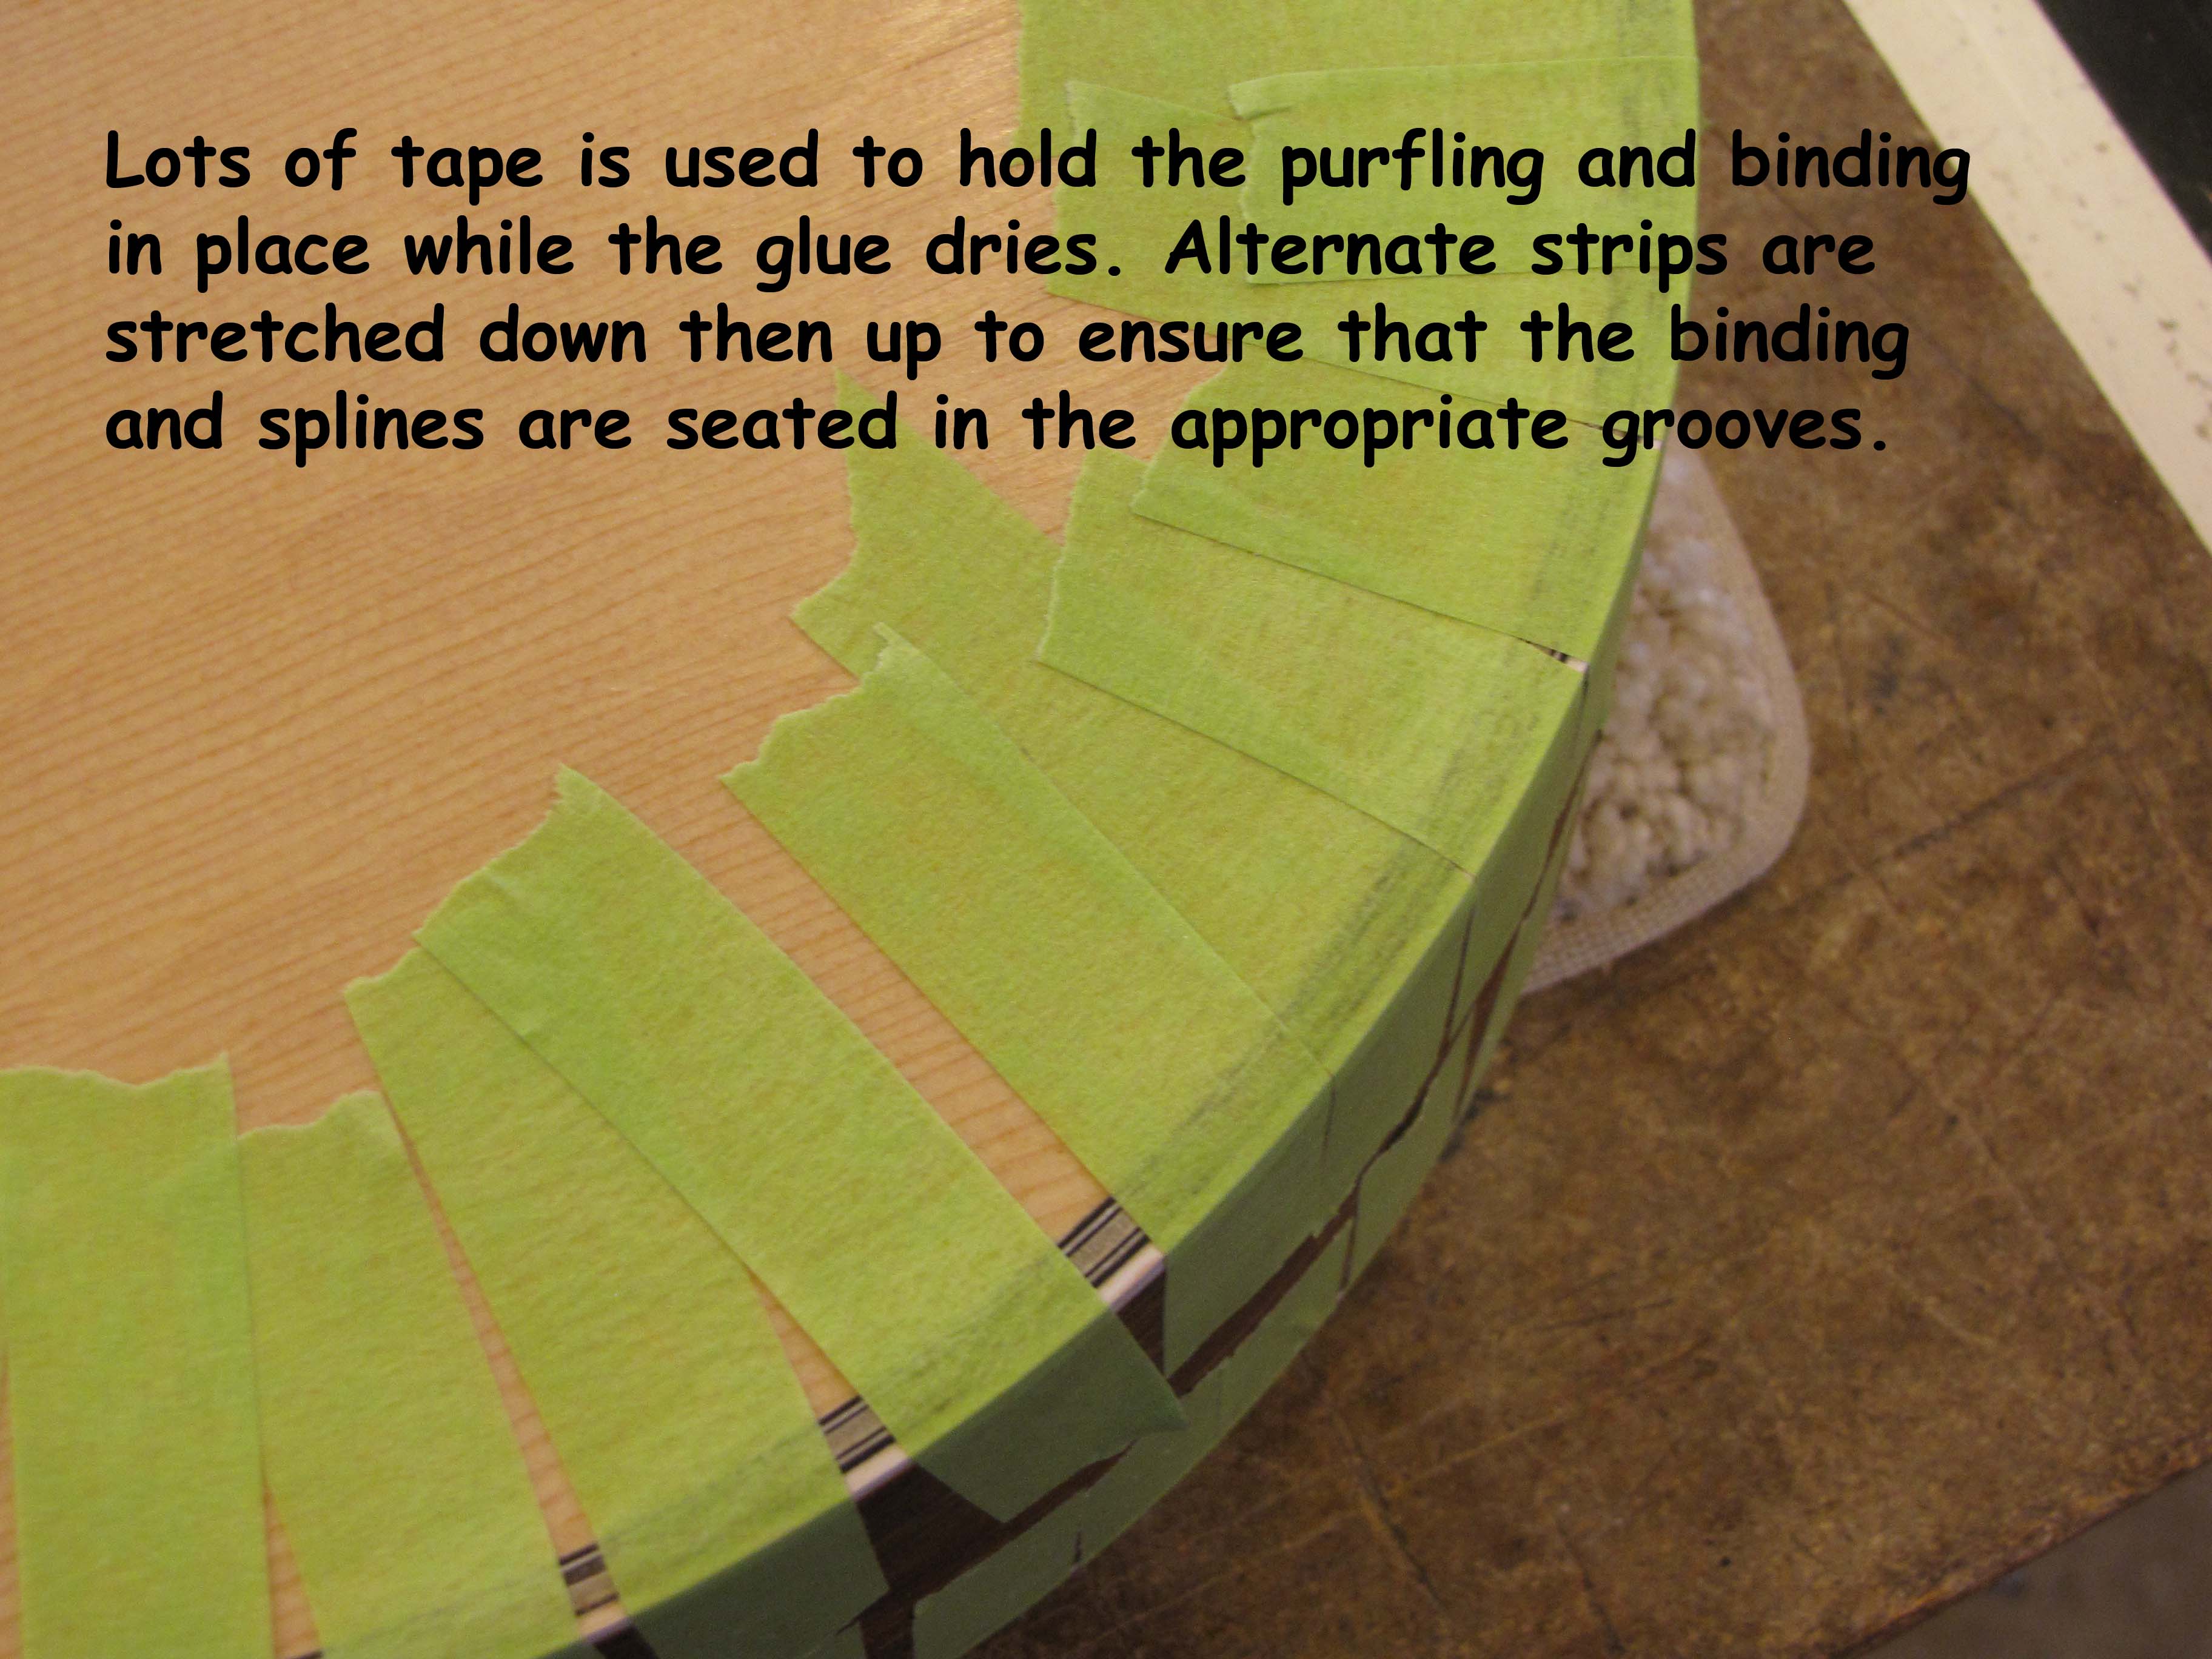
We started by routing the back of the guitar for binding. Lee and I installed the binding using Duco model cement. To hold it in place we used strips of good masking tape, alternating one up, then one down.
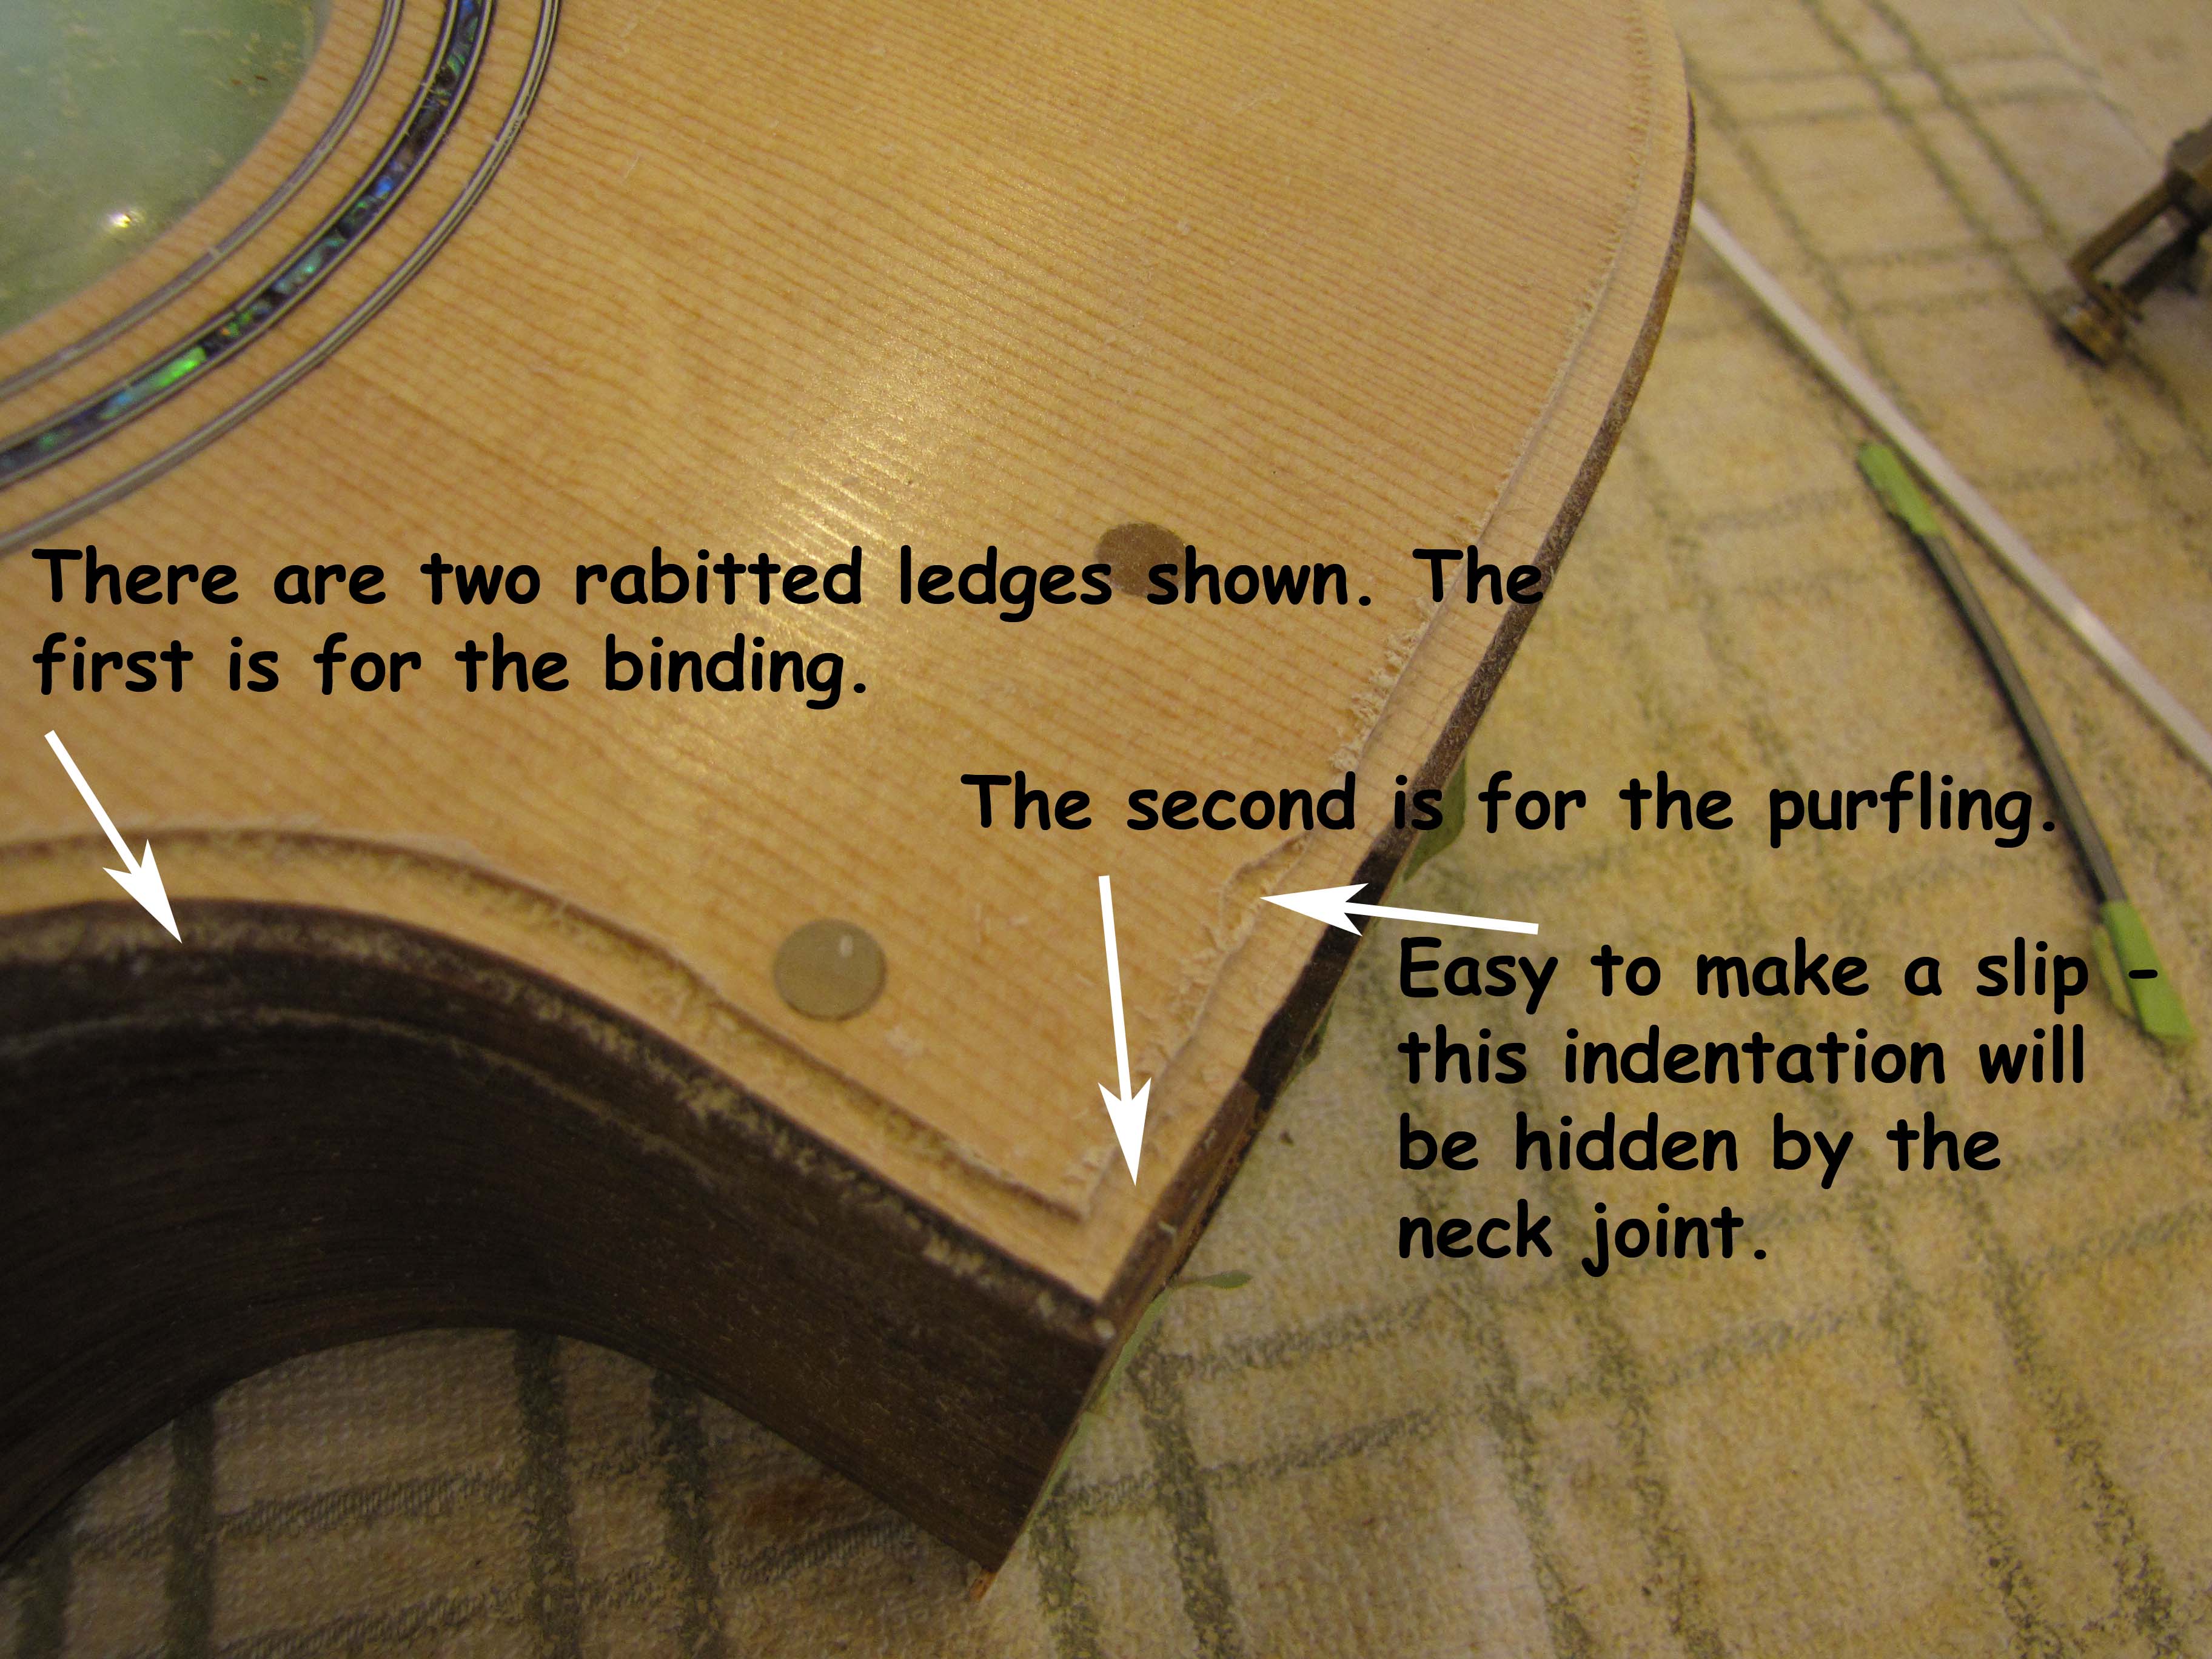
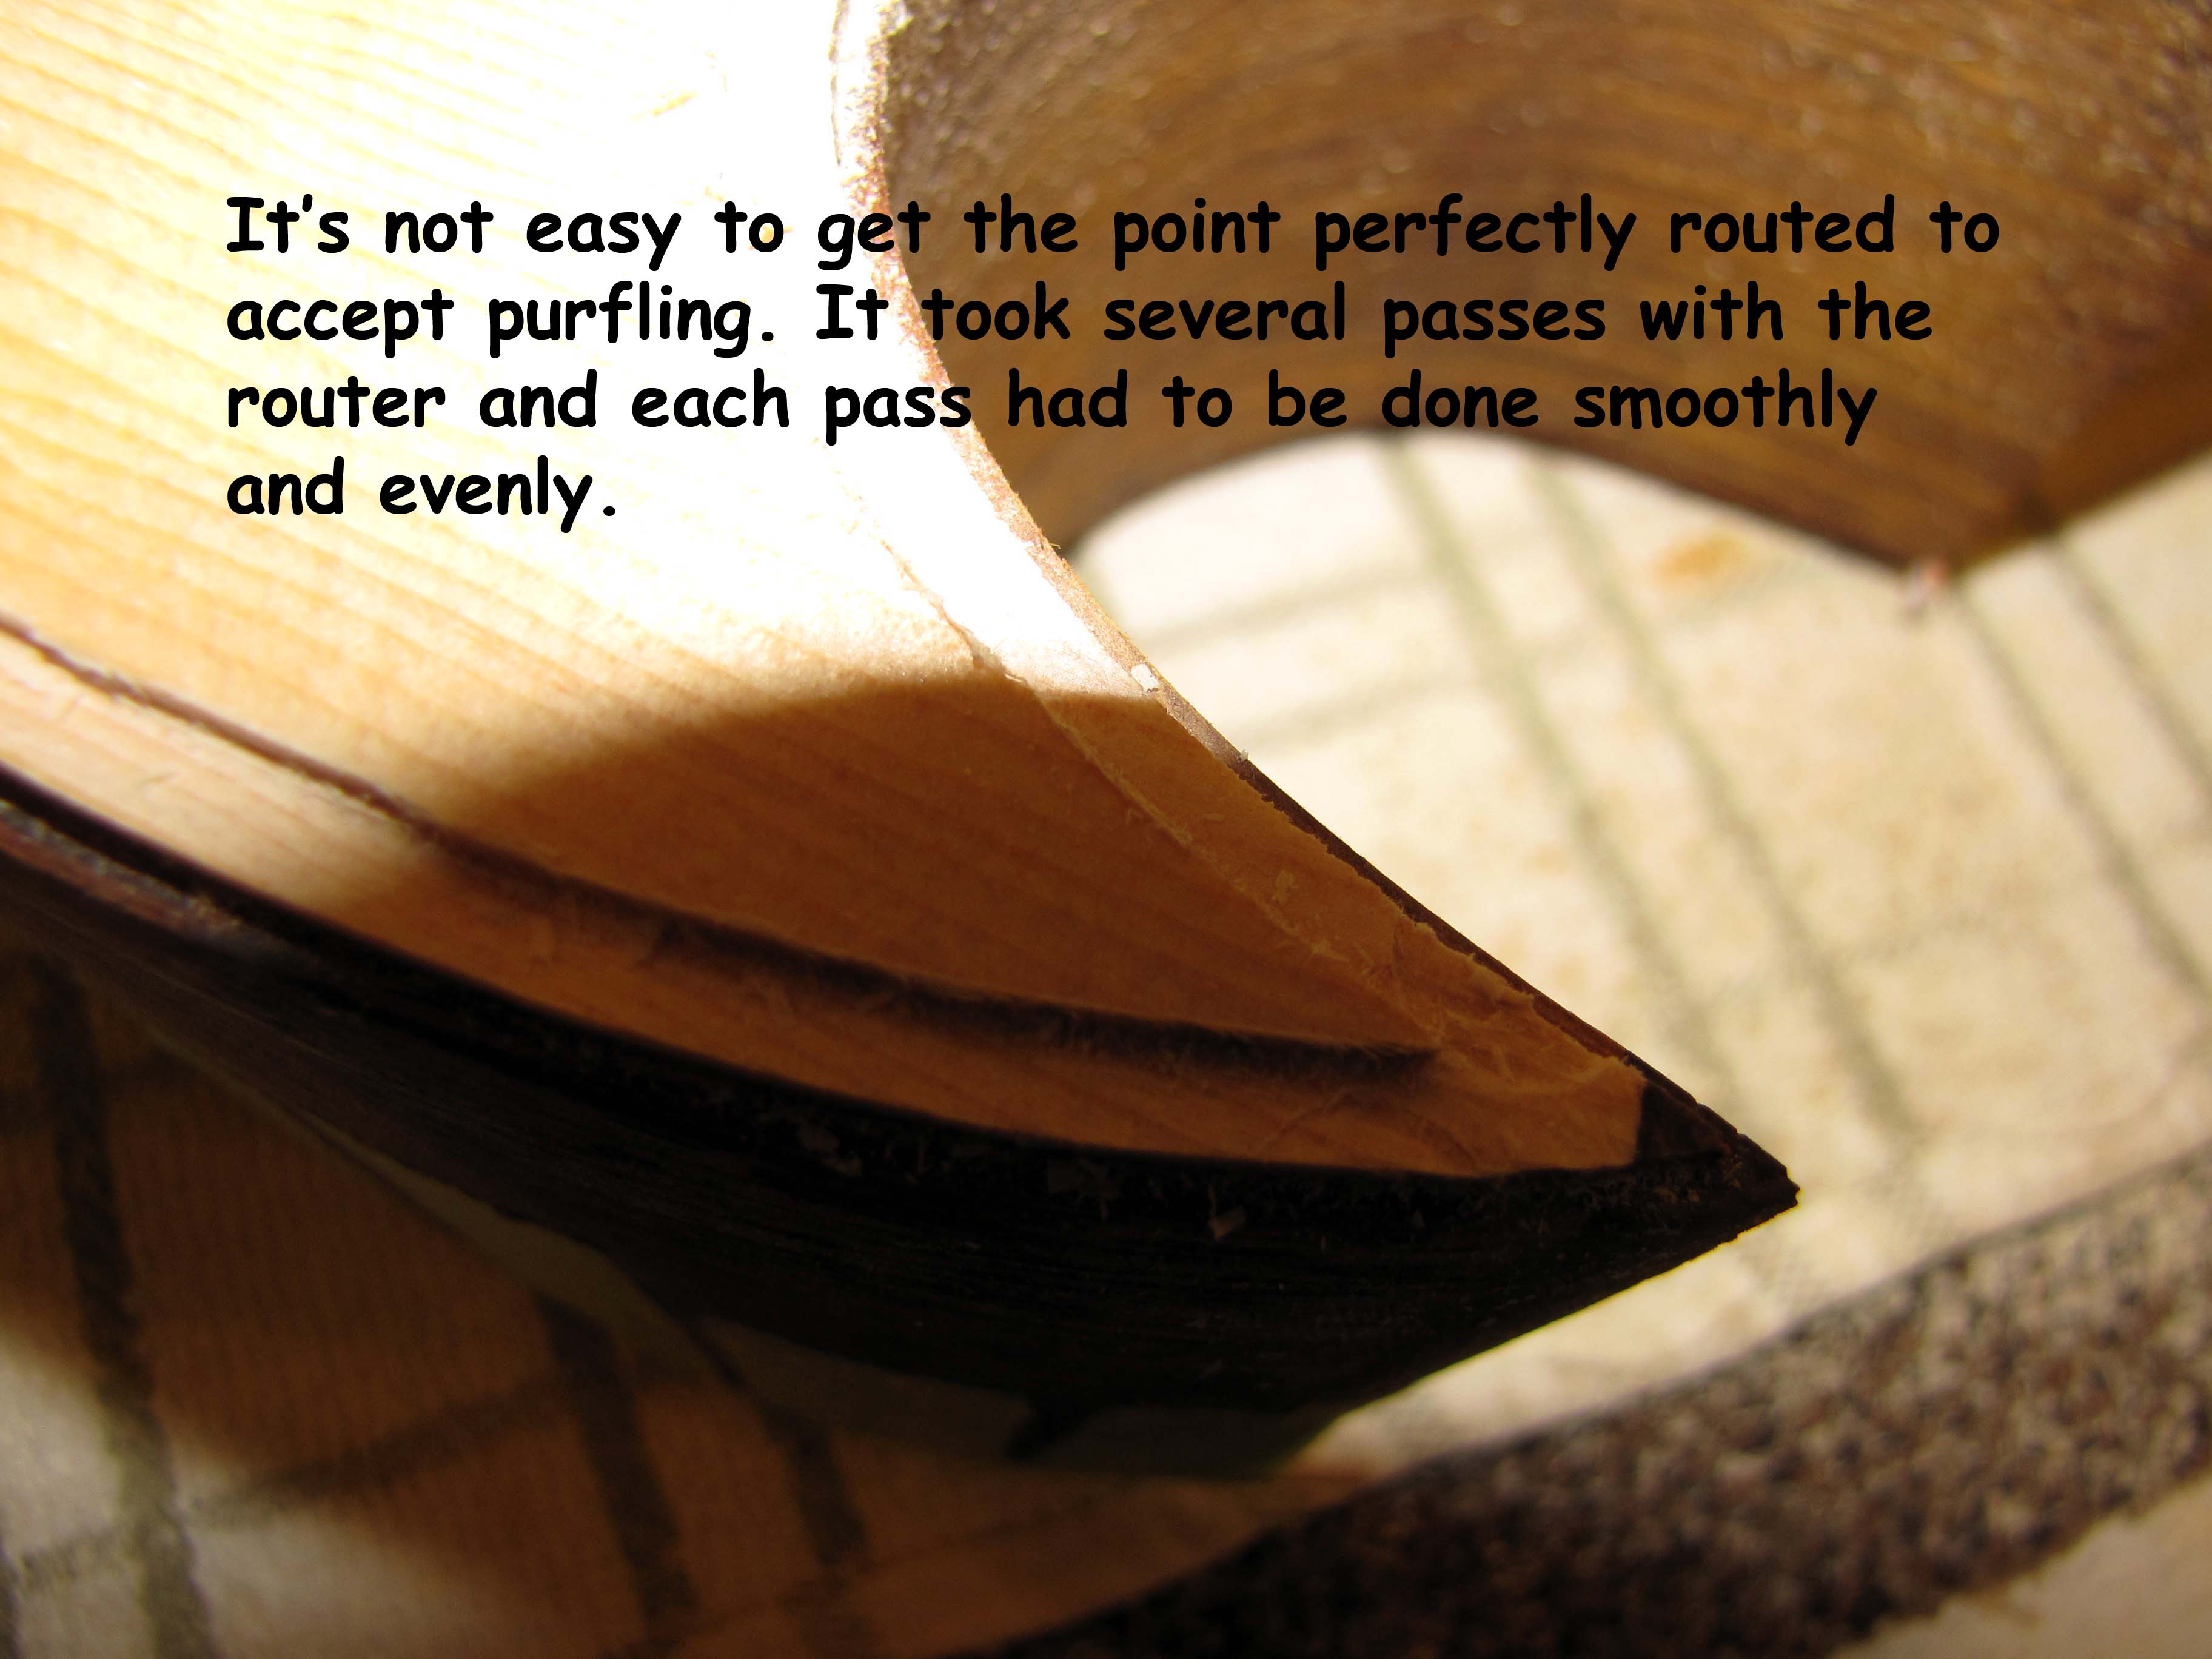
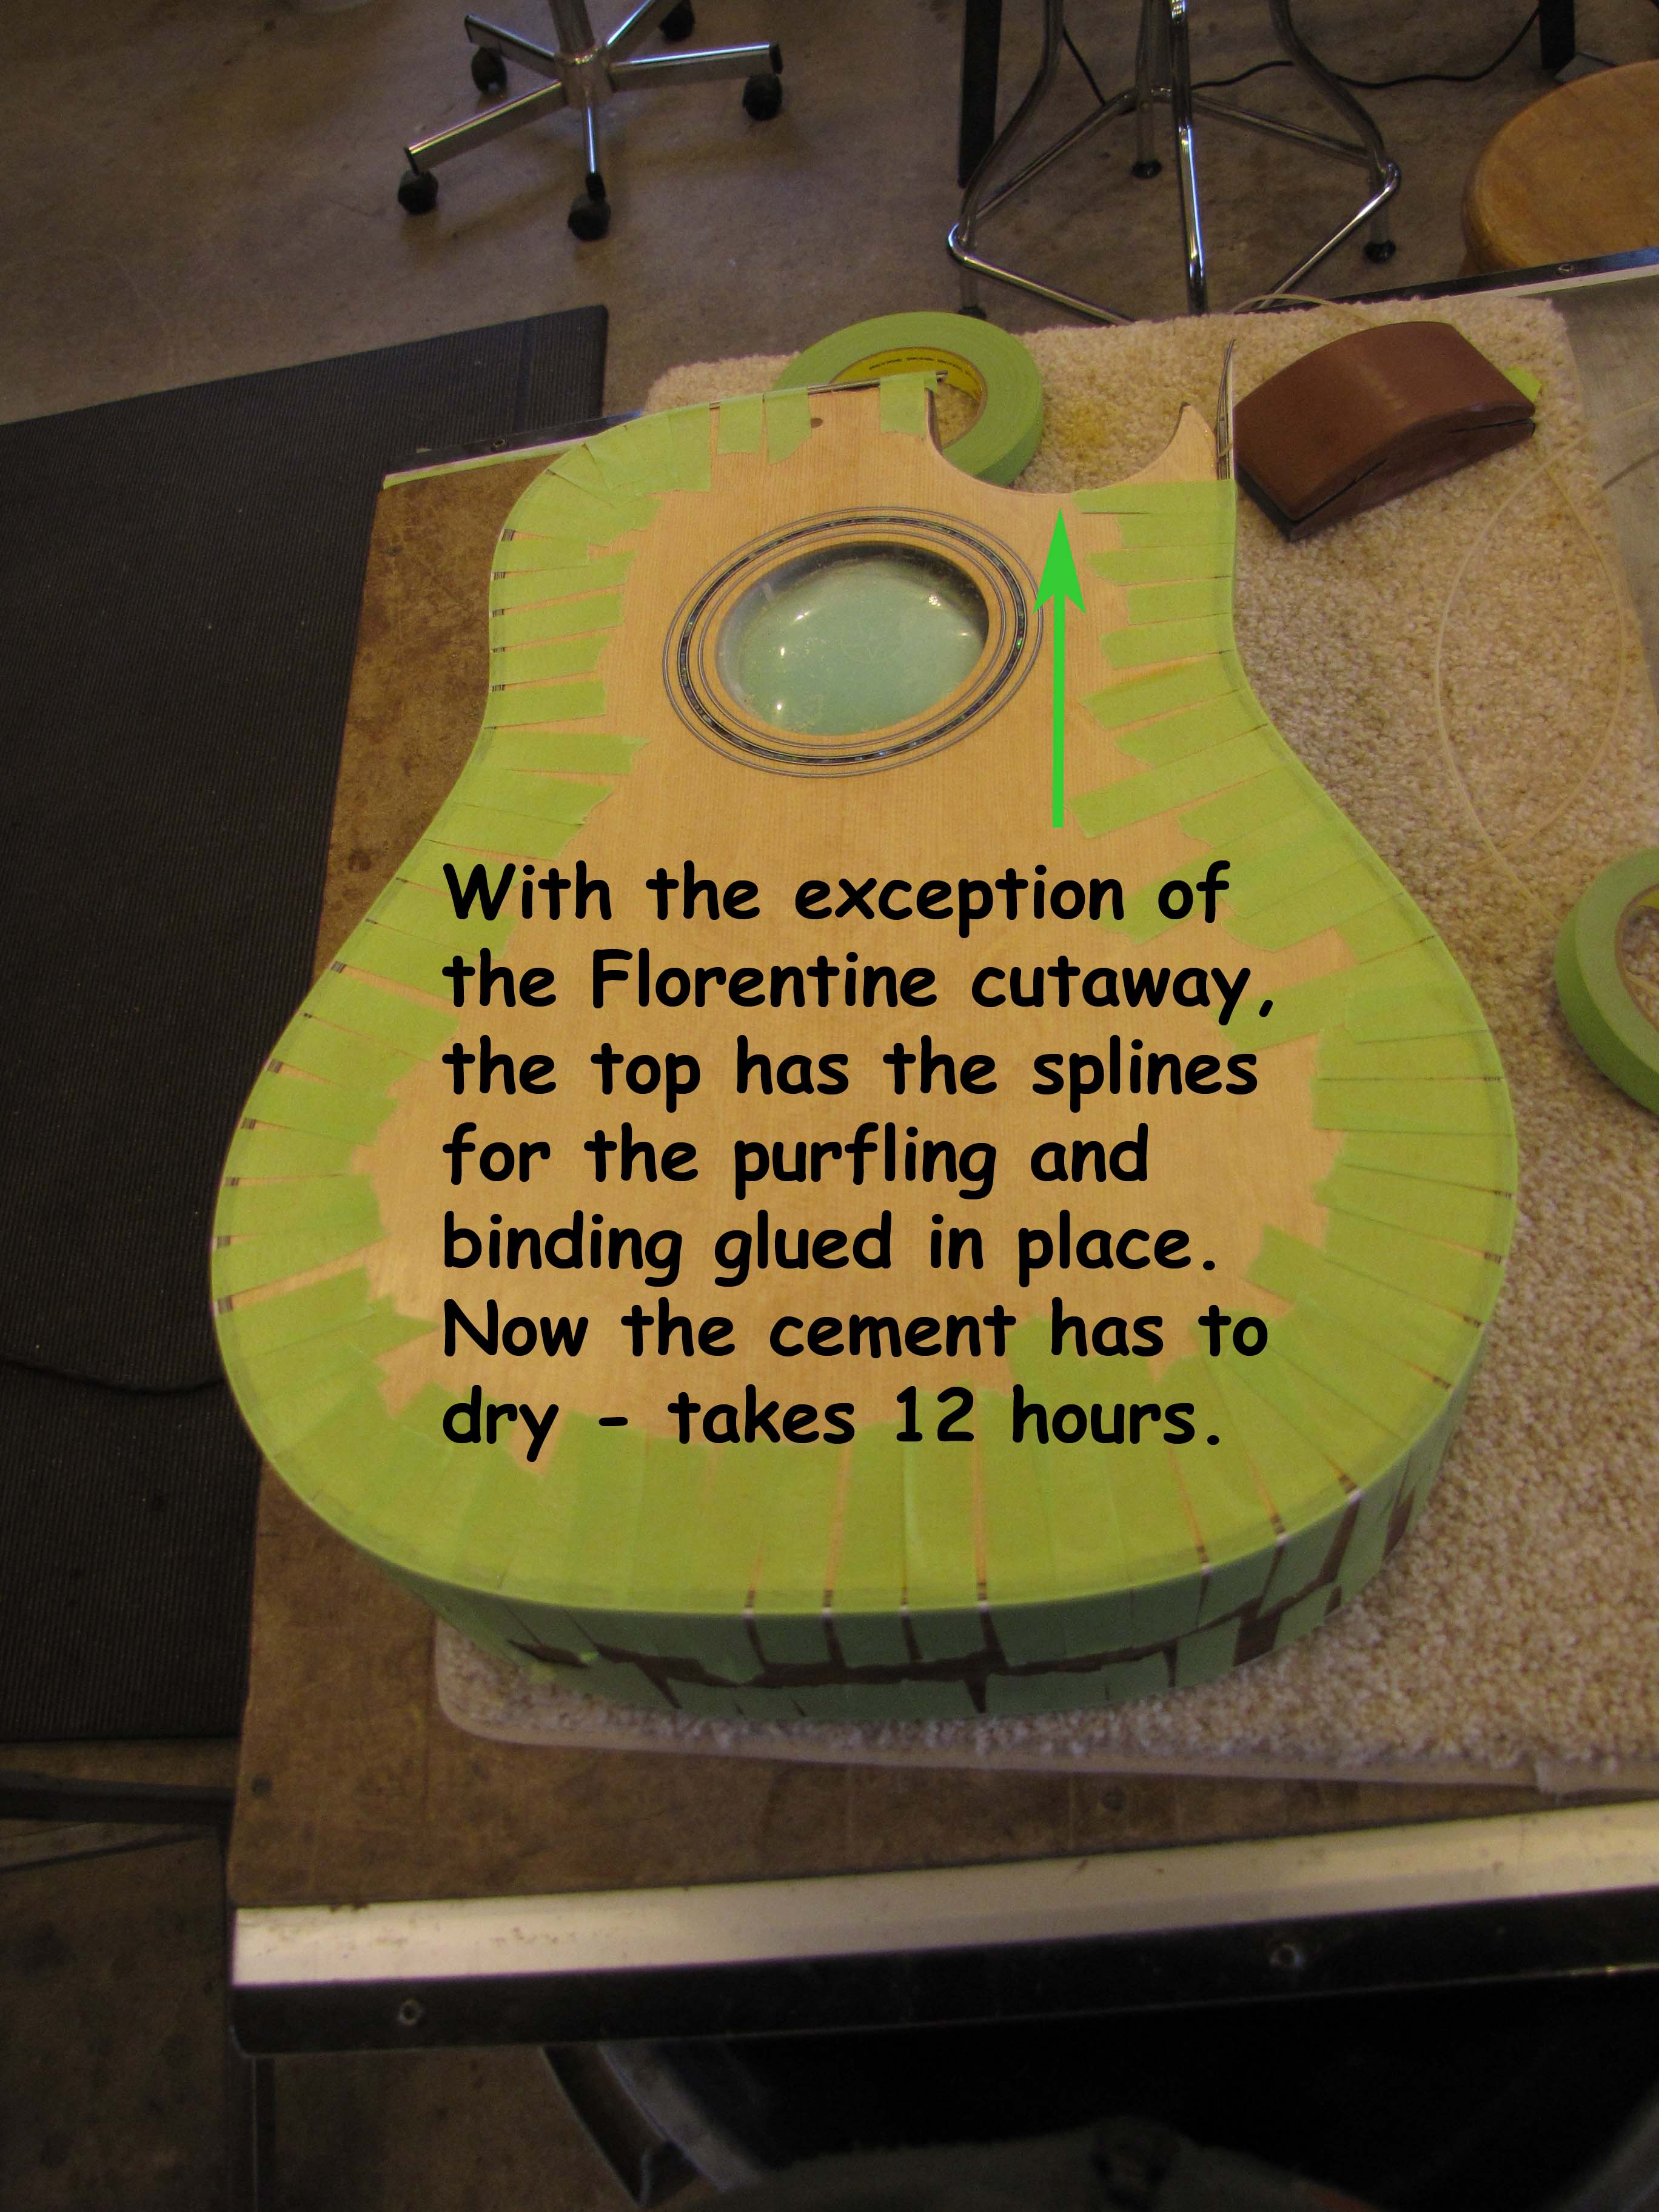
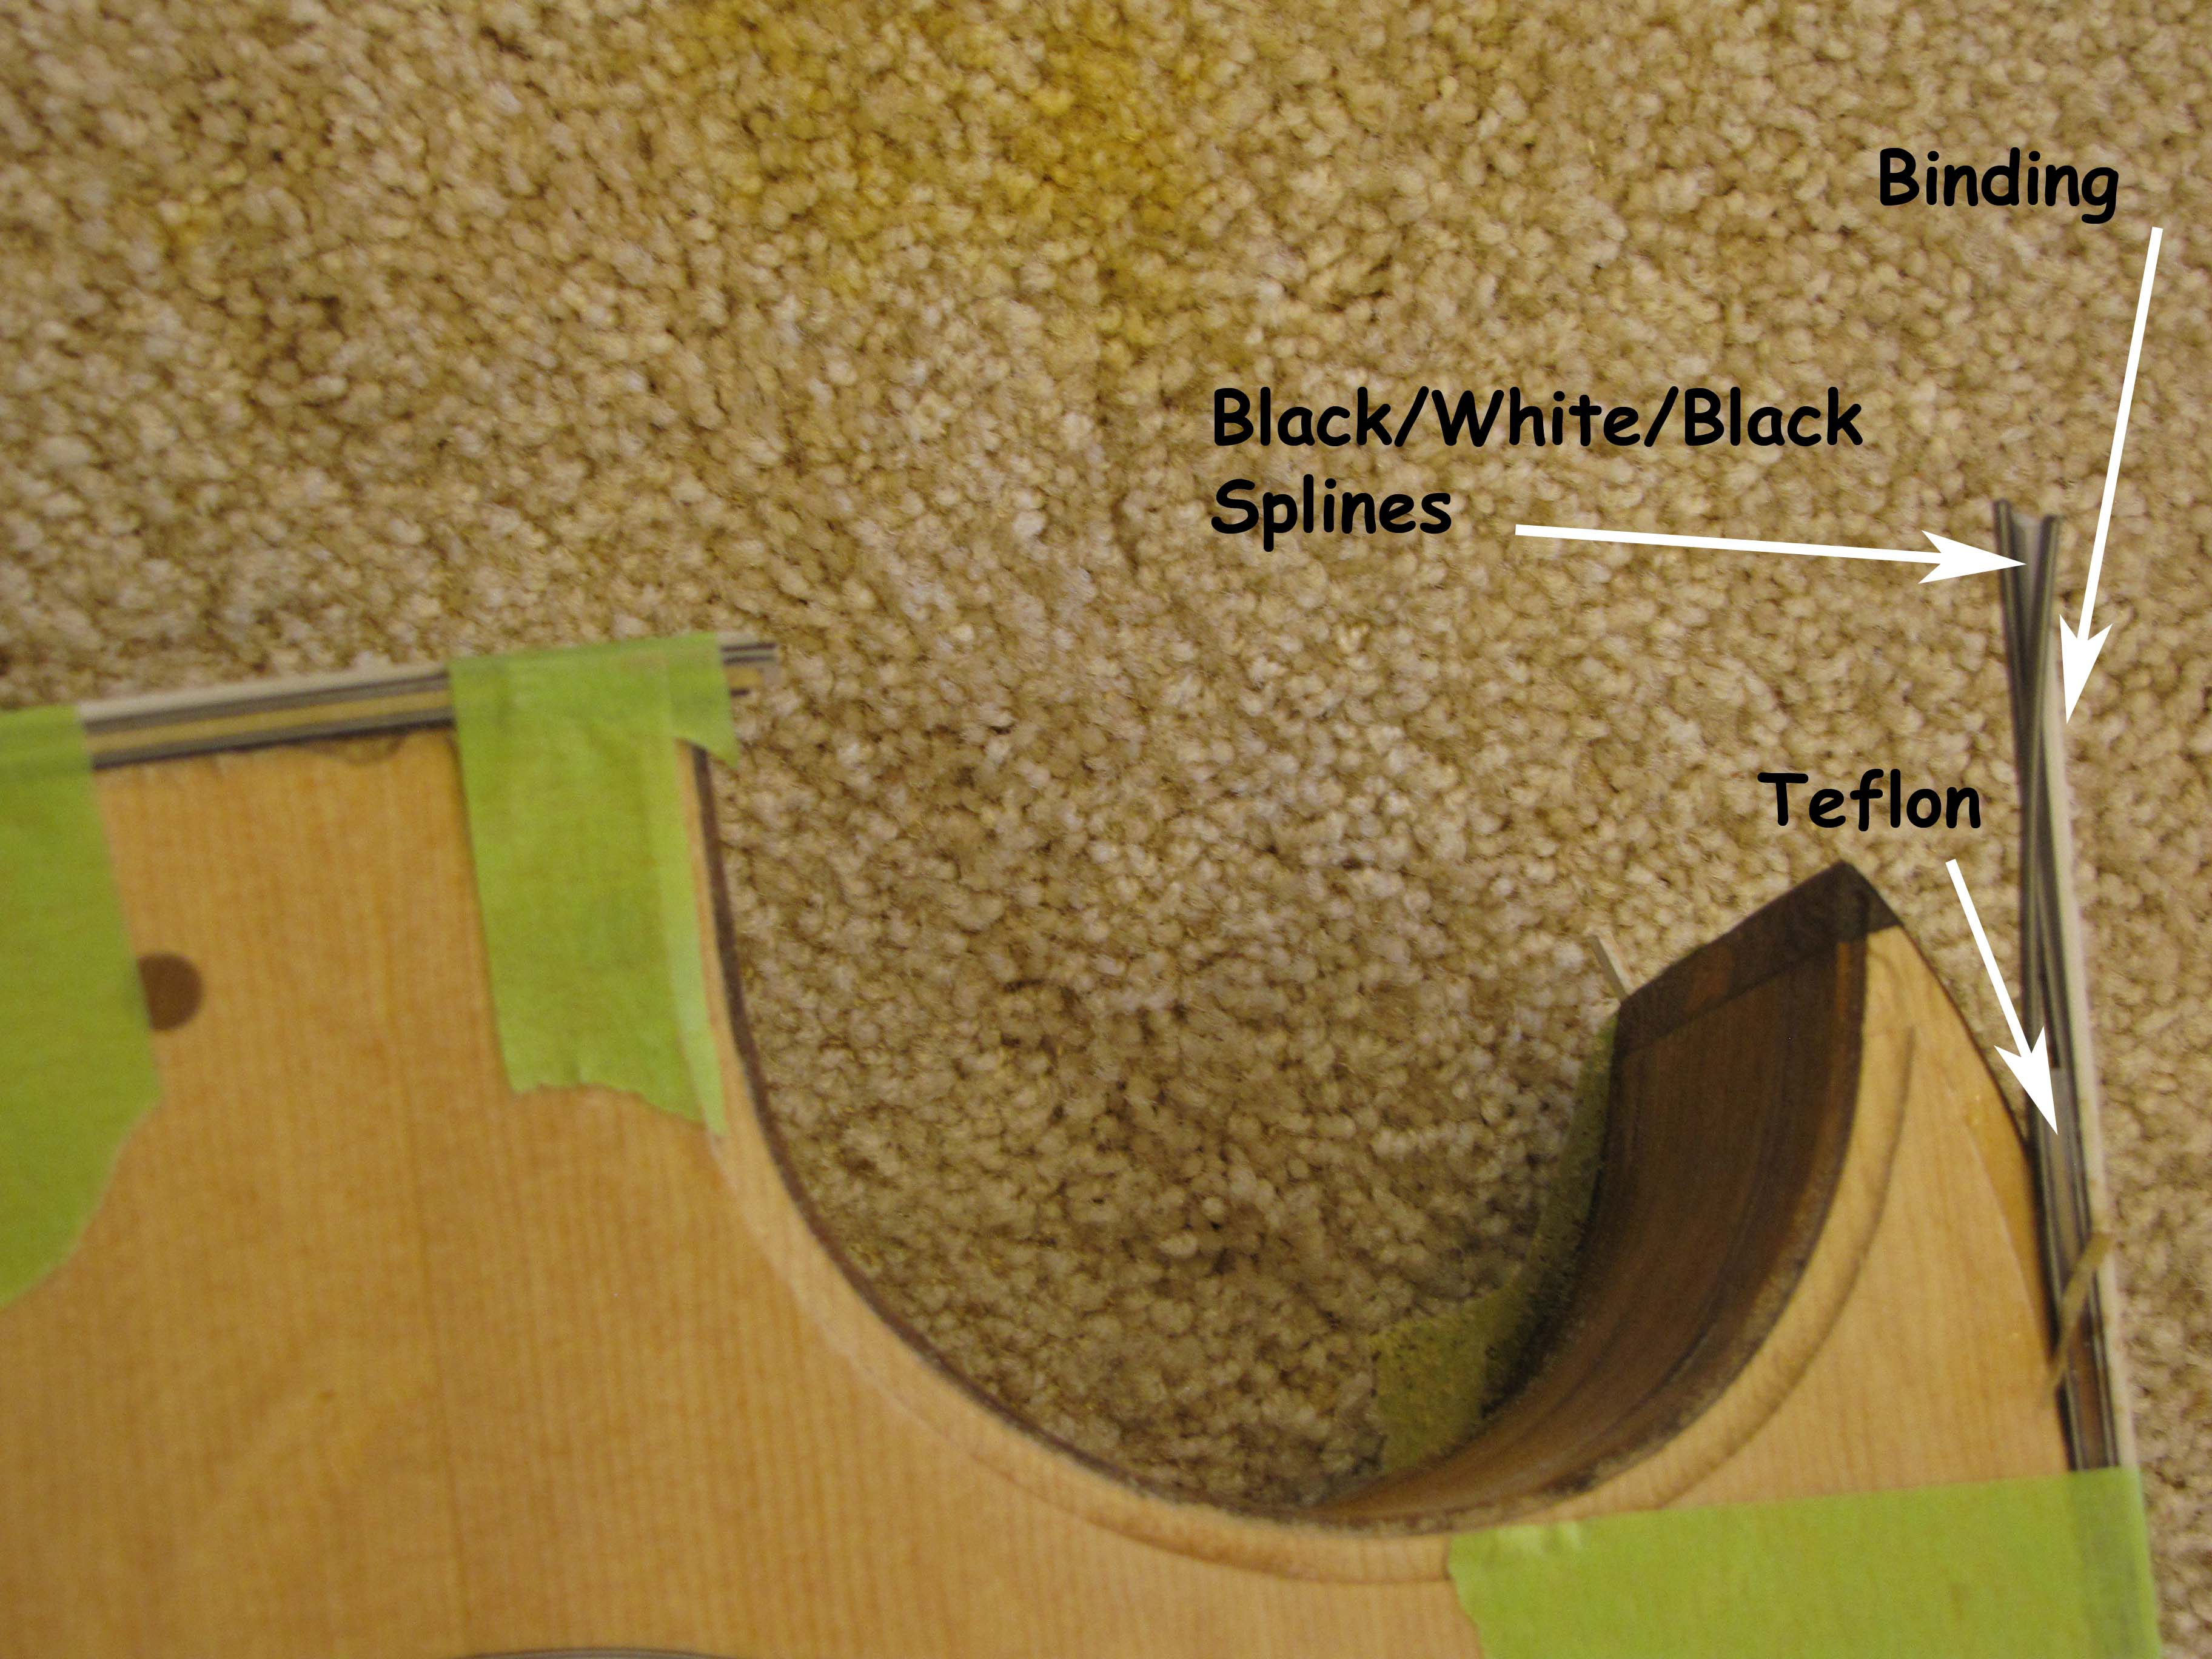
Next I routed the top for the abalone purfling – that’s that fancy green / blue shell material that sparkles. The way it’s done is to route the rabbit, then glue in strips with a teflon strip in the middle. The teflon strip is immune to glue, so after the glue dries, you can pull out the teflon strip, and replace it with crushed abalone. Then sand everything smooth. So, after four passes by the router, we glued in the strips – Blk/Wh/Blk, Teflon strip, Blk/Wh/Blk, and finally white binding.
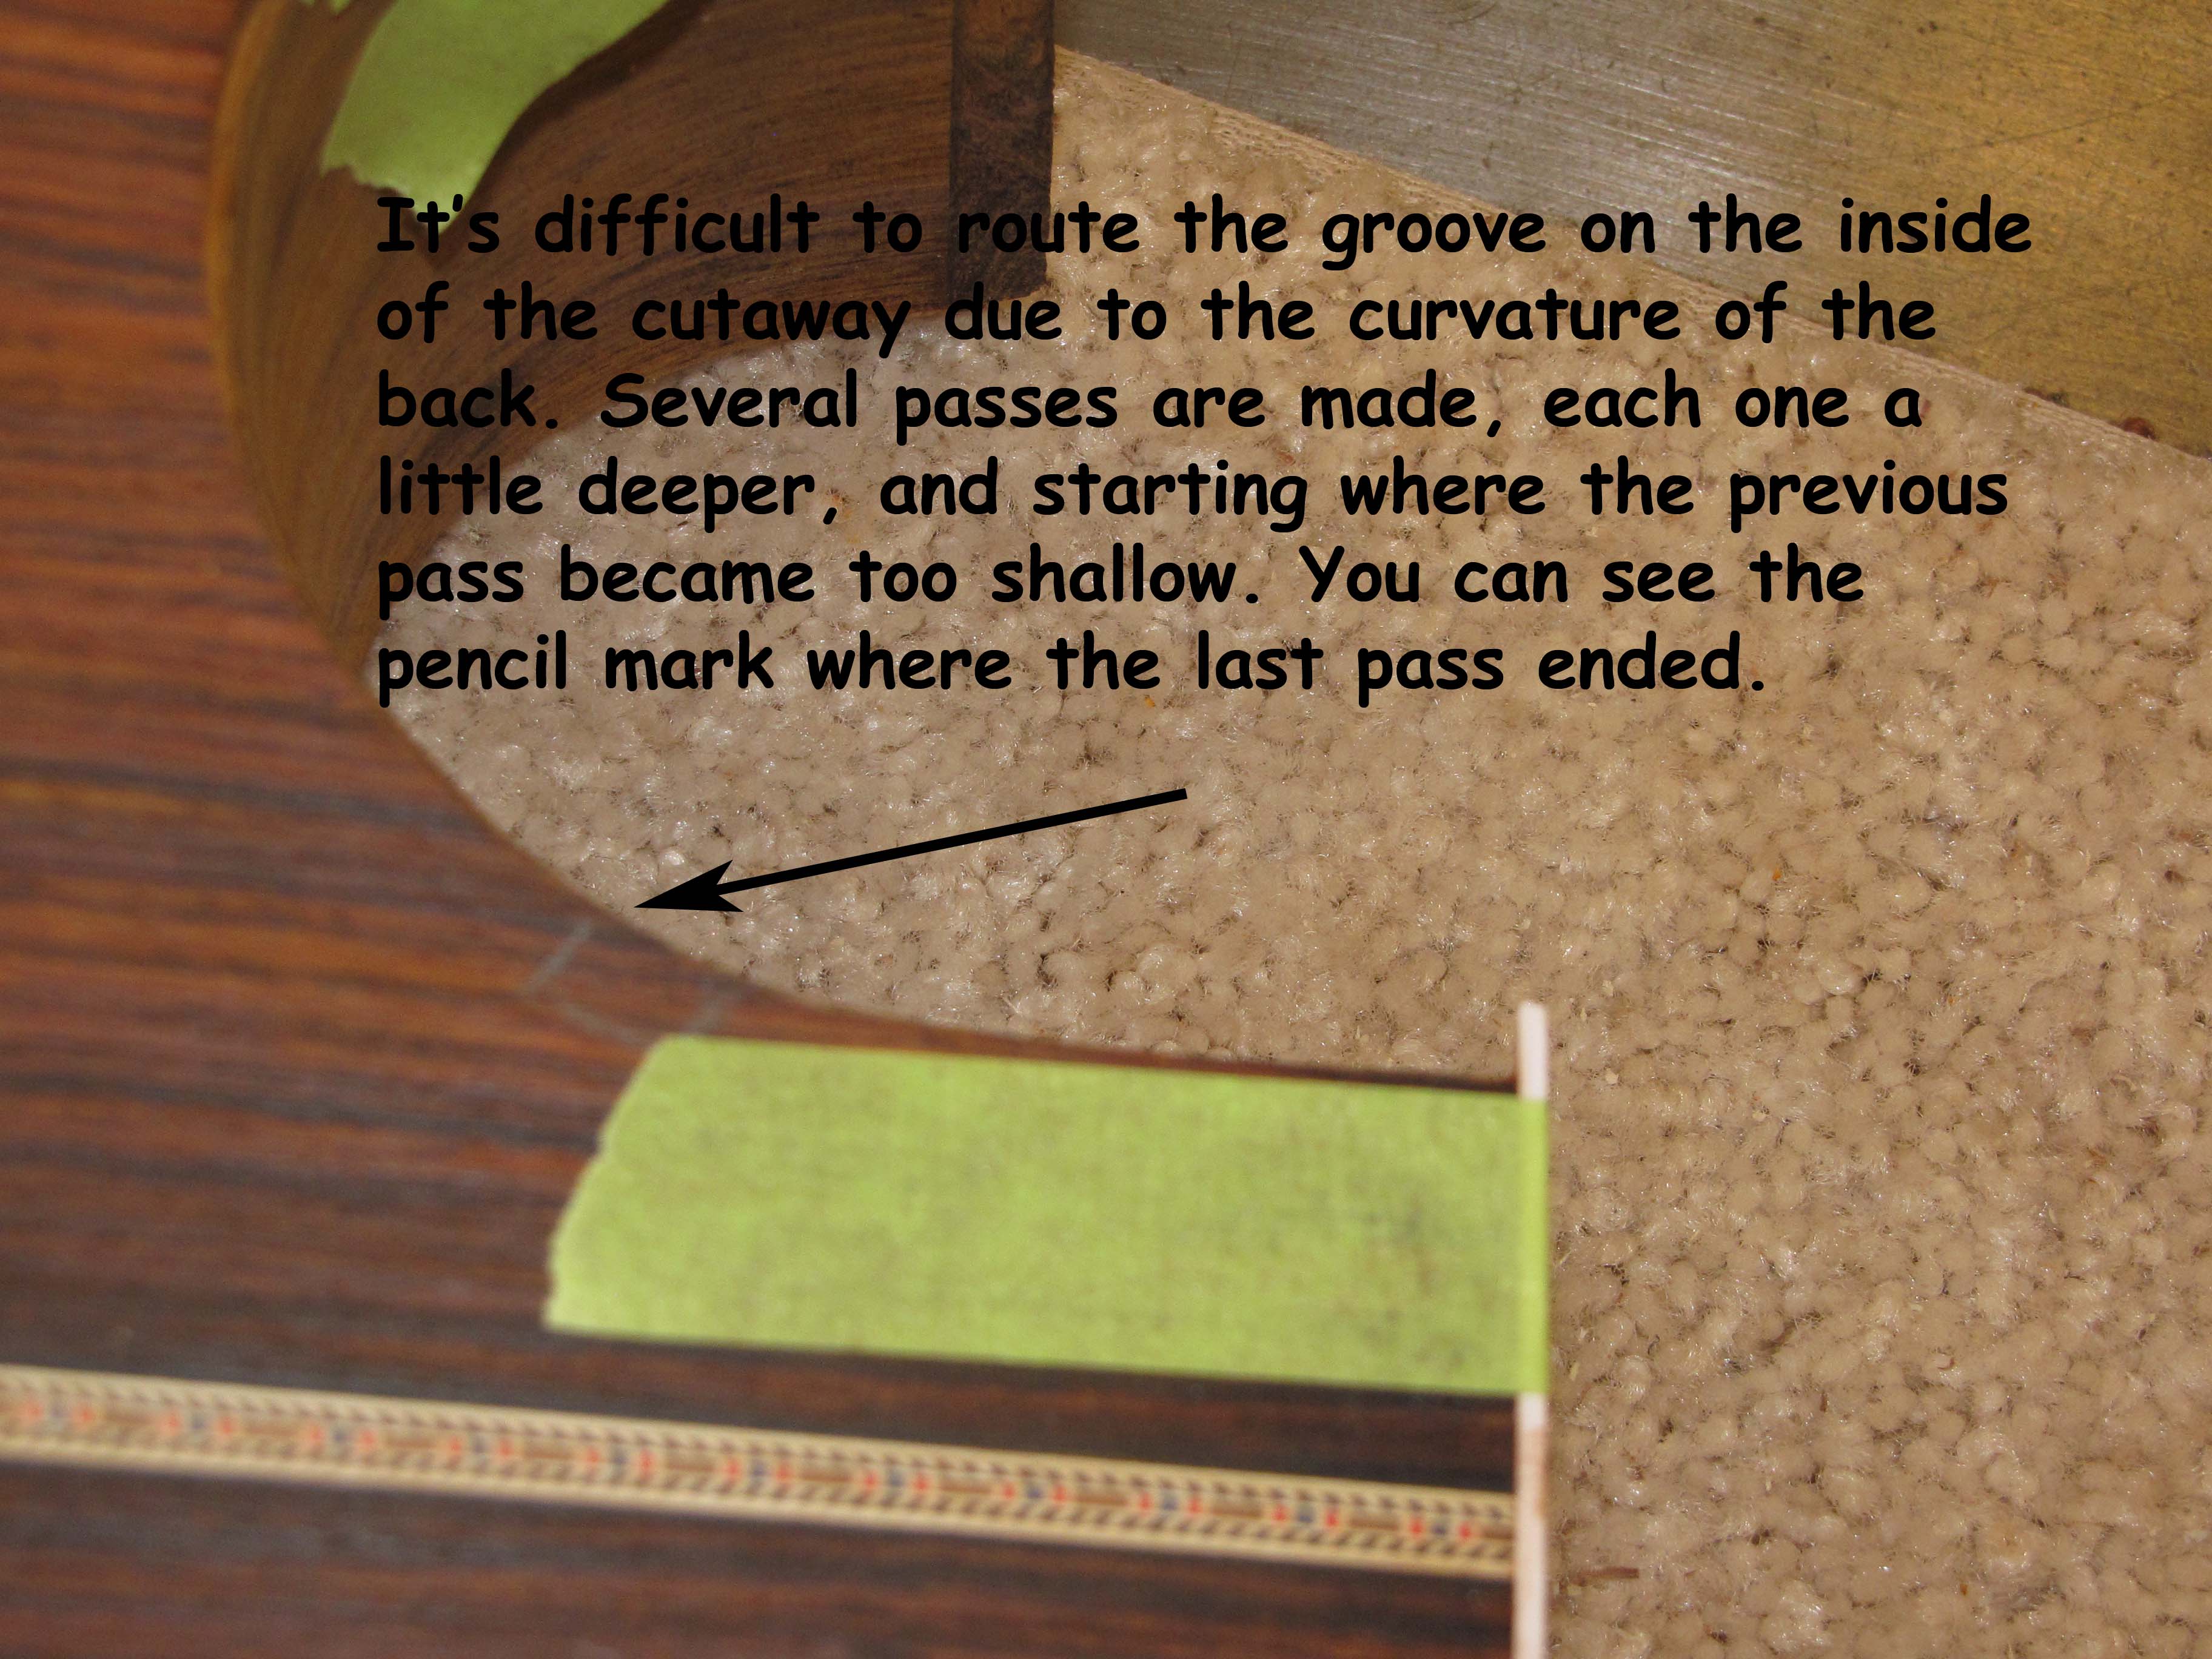
The above took time – several passes with the router, several adjustments, several teeth grittings, and several blue words, before the purfling and binding were finally taped in, waiting for the Duco cement to dry. Not as easy as the photos seem to indicate.
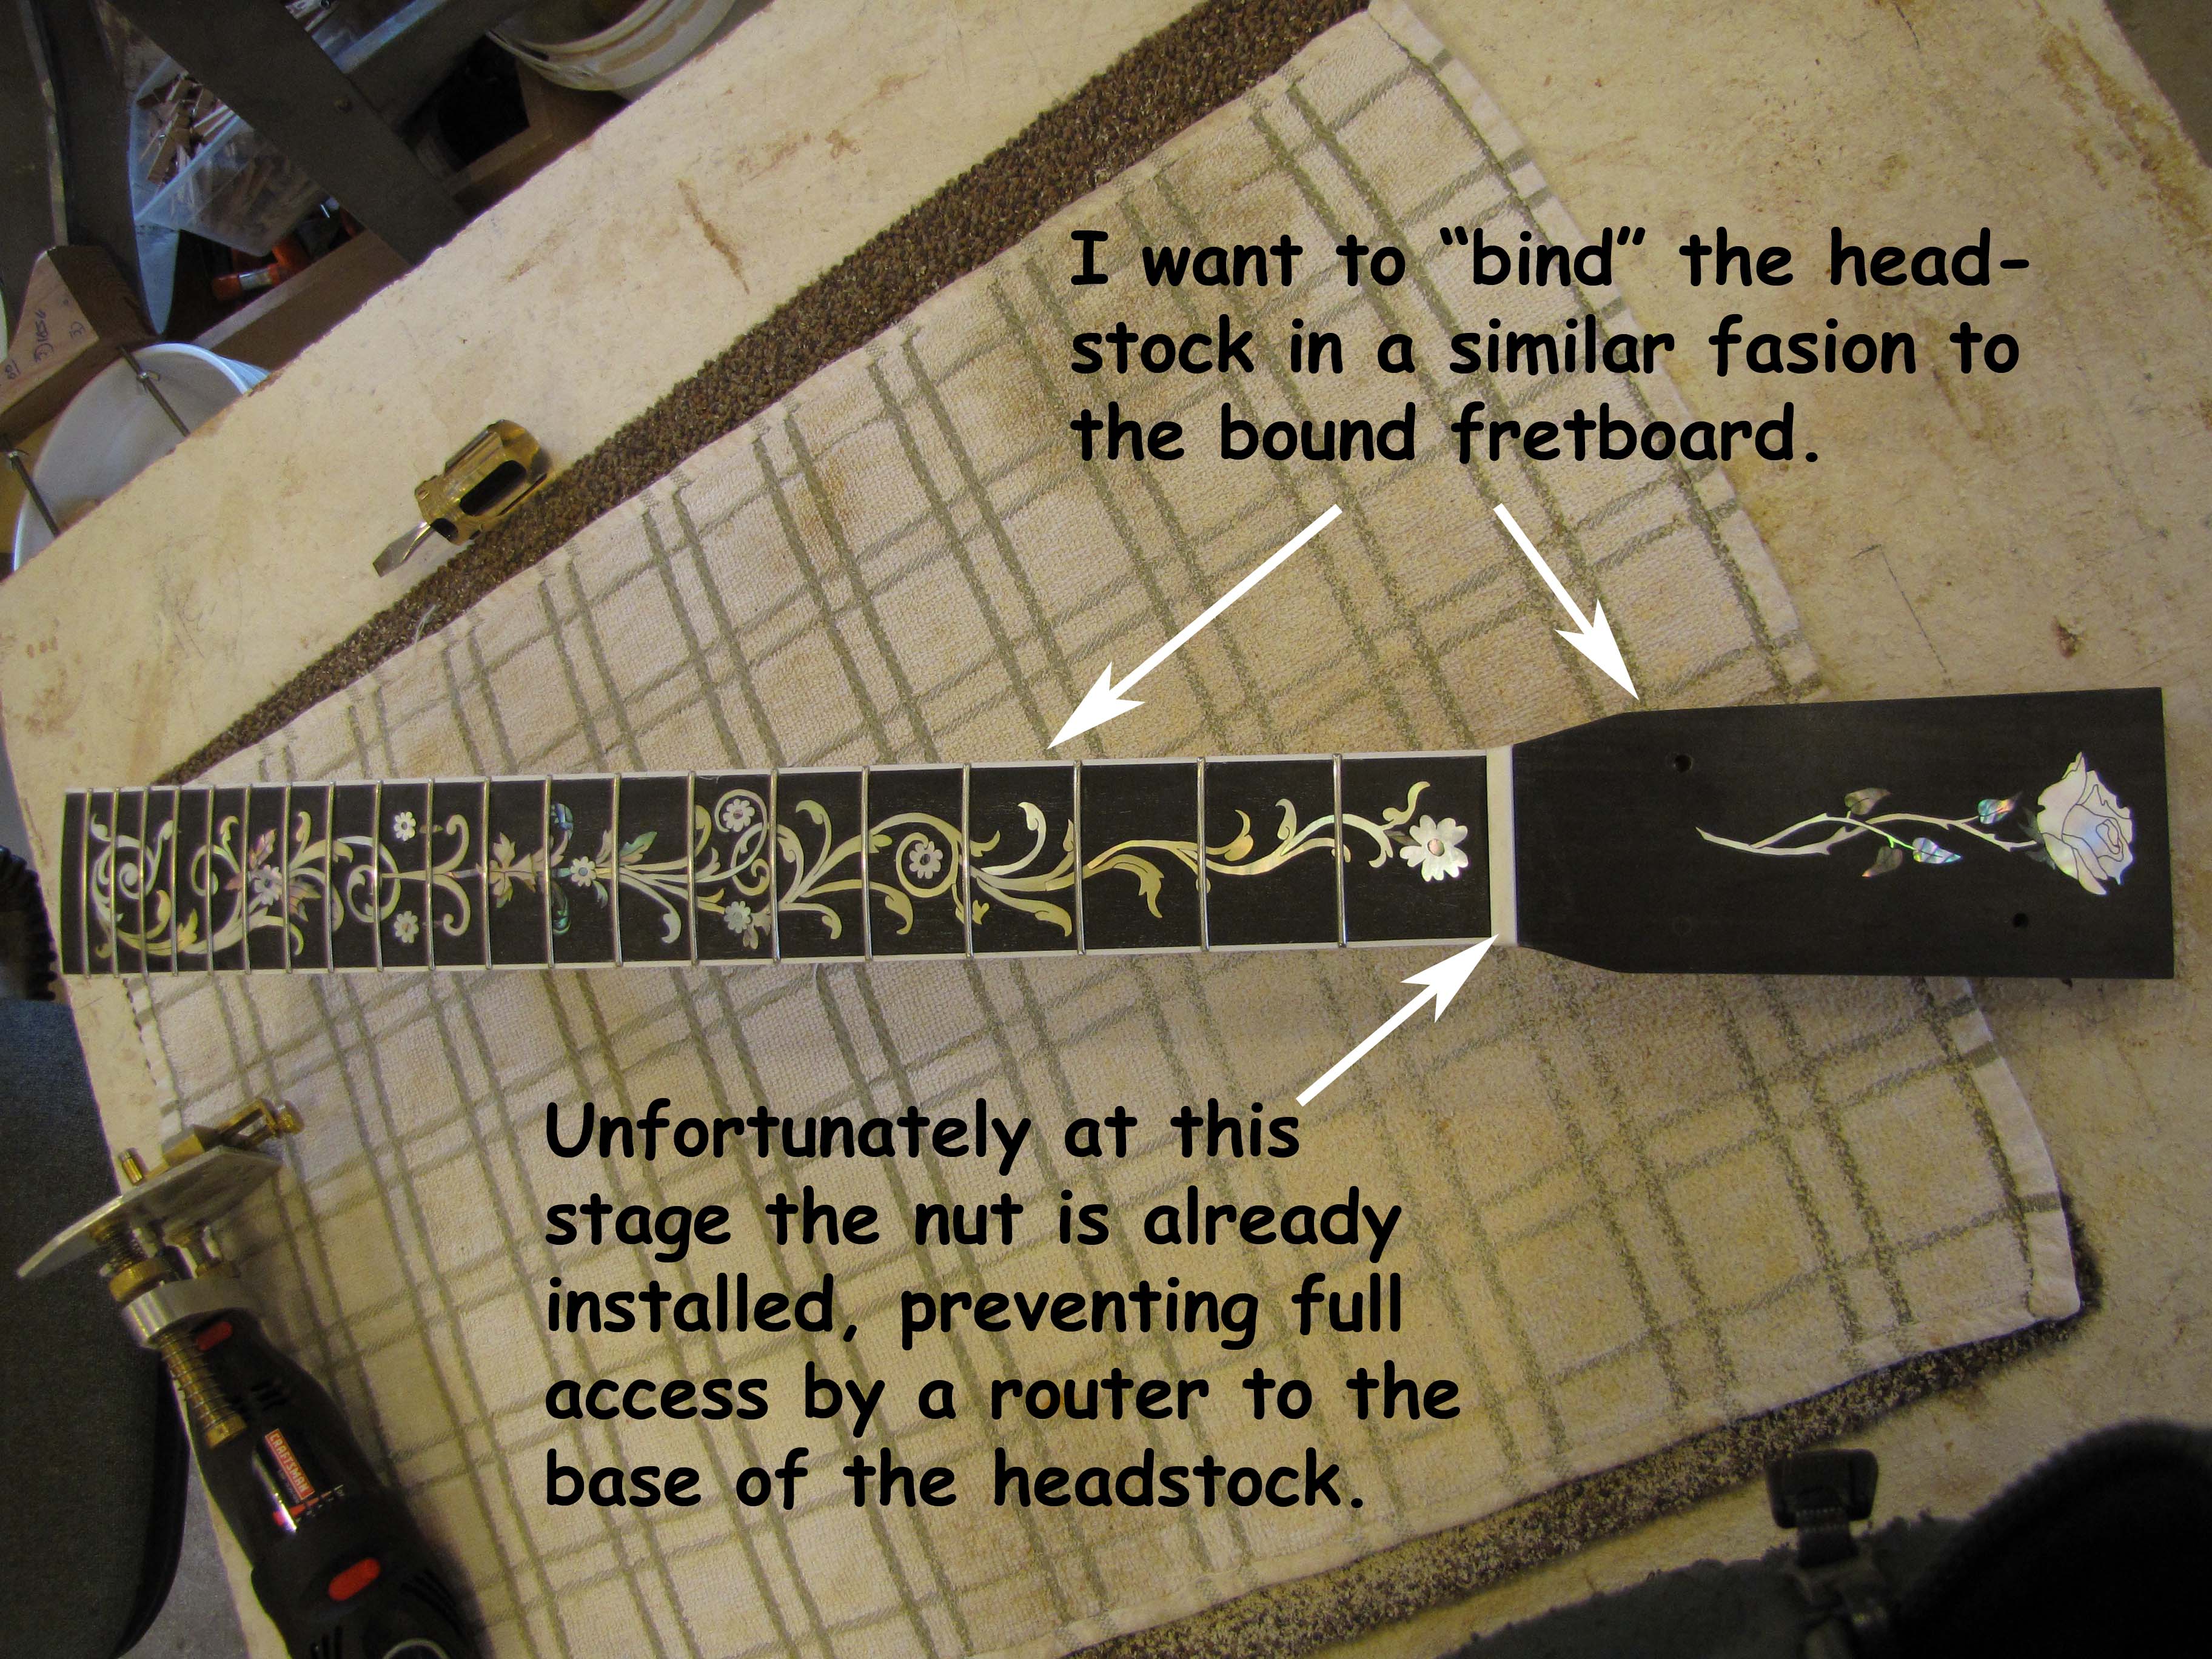
Around 3:00pm I asked about binding the headstock. Much discussion followed. Dave and Lee felt it was too late in the process because the nut had already been installed, preventing good access by the Dremil router we were using. I argued that there must be some way to do it. Finally Lee suggested that a binding cut down to a little over the thickness of the top veneer would work. The trouble was that the only binding we had was too wide and cutting it down would be a problem. Dave reluctantly used a special dremil router with a jig, held between his knees, to cut the binding to size. First he taped his fingers and then fed the wide binding through the jig and it came out the appropriate width. Scary – but in the end there was no blood lost, and there was the same number of fingers at the end as there was to start with. Sigh of relief – I was sweating – I really didn’t like that part – I hate blood.
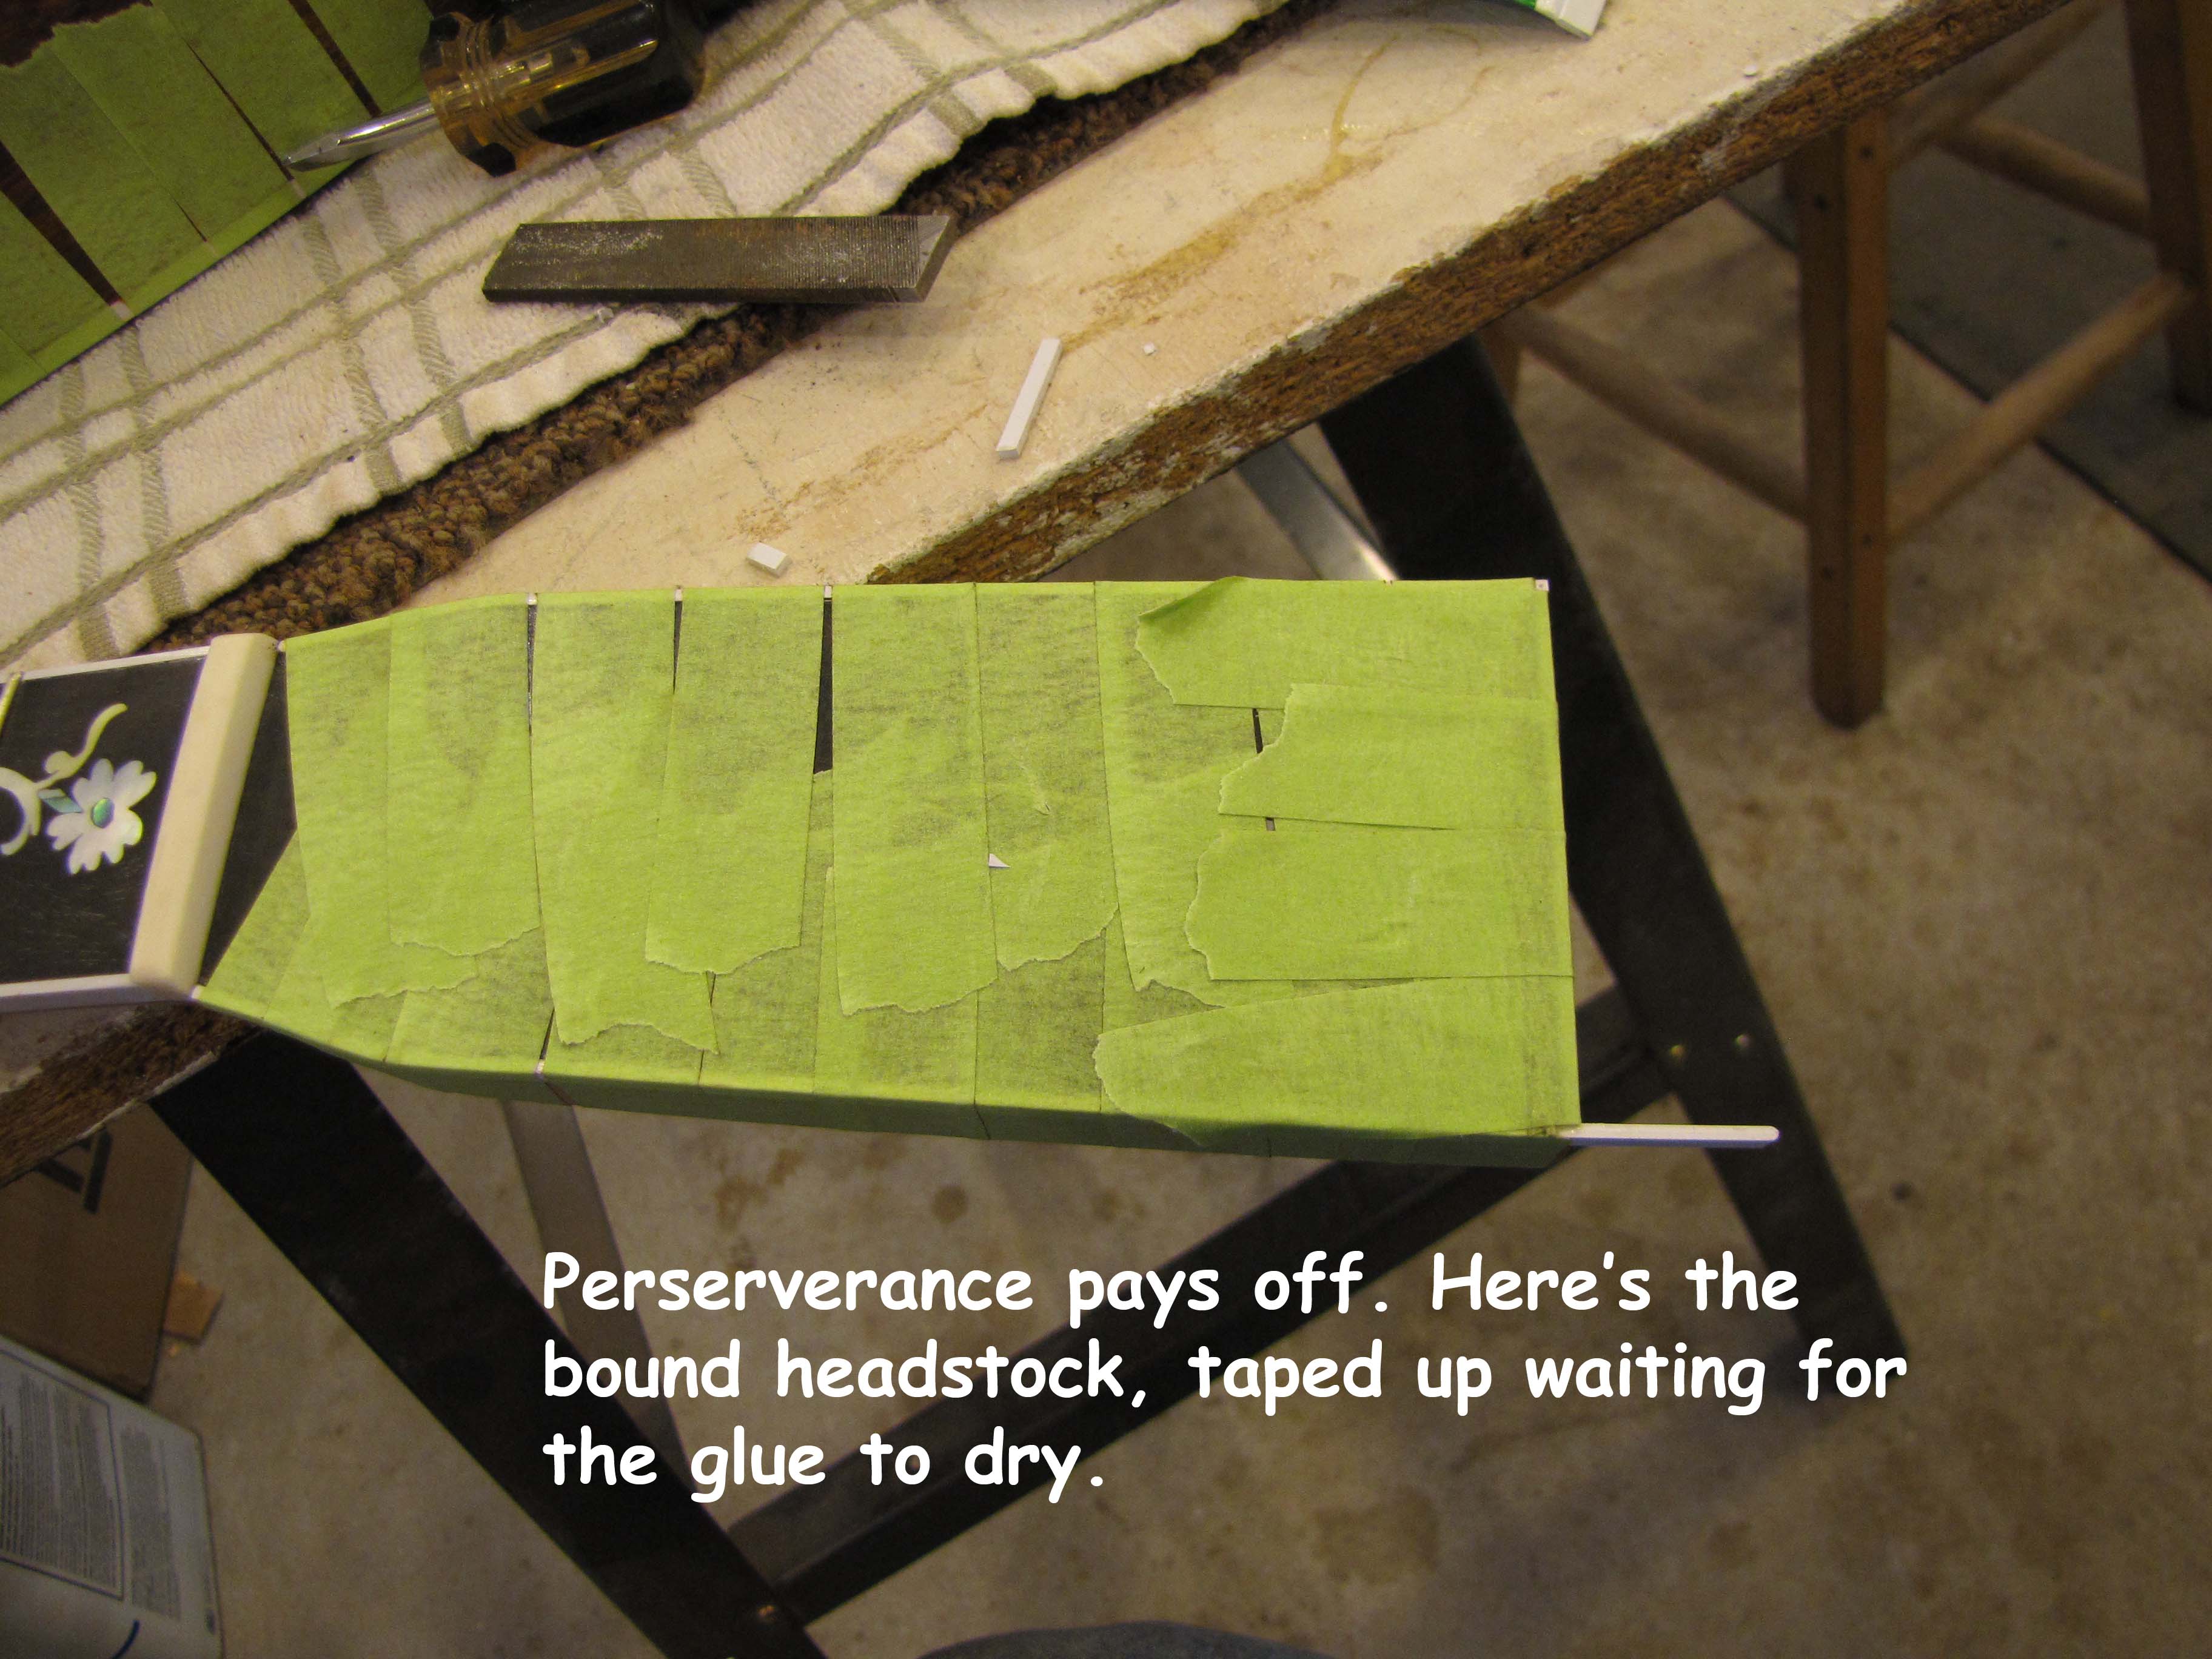
Dave explained that I would have to use the inlay router (different from the dremil) to cut the rabbit for the binding. He used a compass to scribe a line around the perimeter of the headstock. He told me to chalk the scribed line and to route up to the line. “Leave the line showing” he said. So I routed as close as I could, then filed it smooth. Lee and I glued in the white binding, and taped it. It will look nice in the morning when the tape comes off.
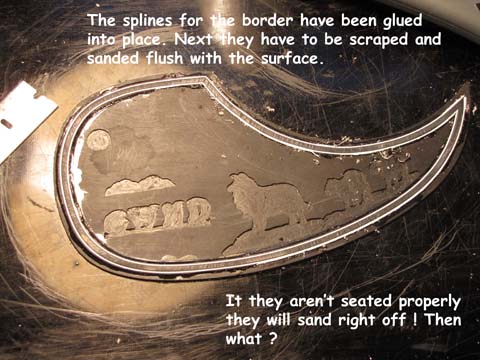
While the glue on the headstock was drying, I worked on the abalone boarder for the pickguard. The groove is fairly shallow due to the thinness of the plastic. The splines kept on lifting out, and it took a while to cut them properly. It wasn’t easy. Dave tacked them in with crazy glue but was worried that the splines weren’t well seated, and warned me that there could be problems later on when we sanded them flush. Nothing else could be done to improve chances, so I removed the rest of the tape and he applied a liberal amount of glue to the entire spline. Next I started the scraping process using a handheld razor blade – hard to hold. Tuesday evening I went to the hardware store and bought a 1” scraper. Will try it out in the morning.
